
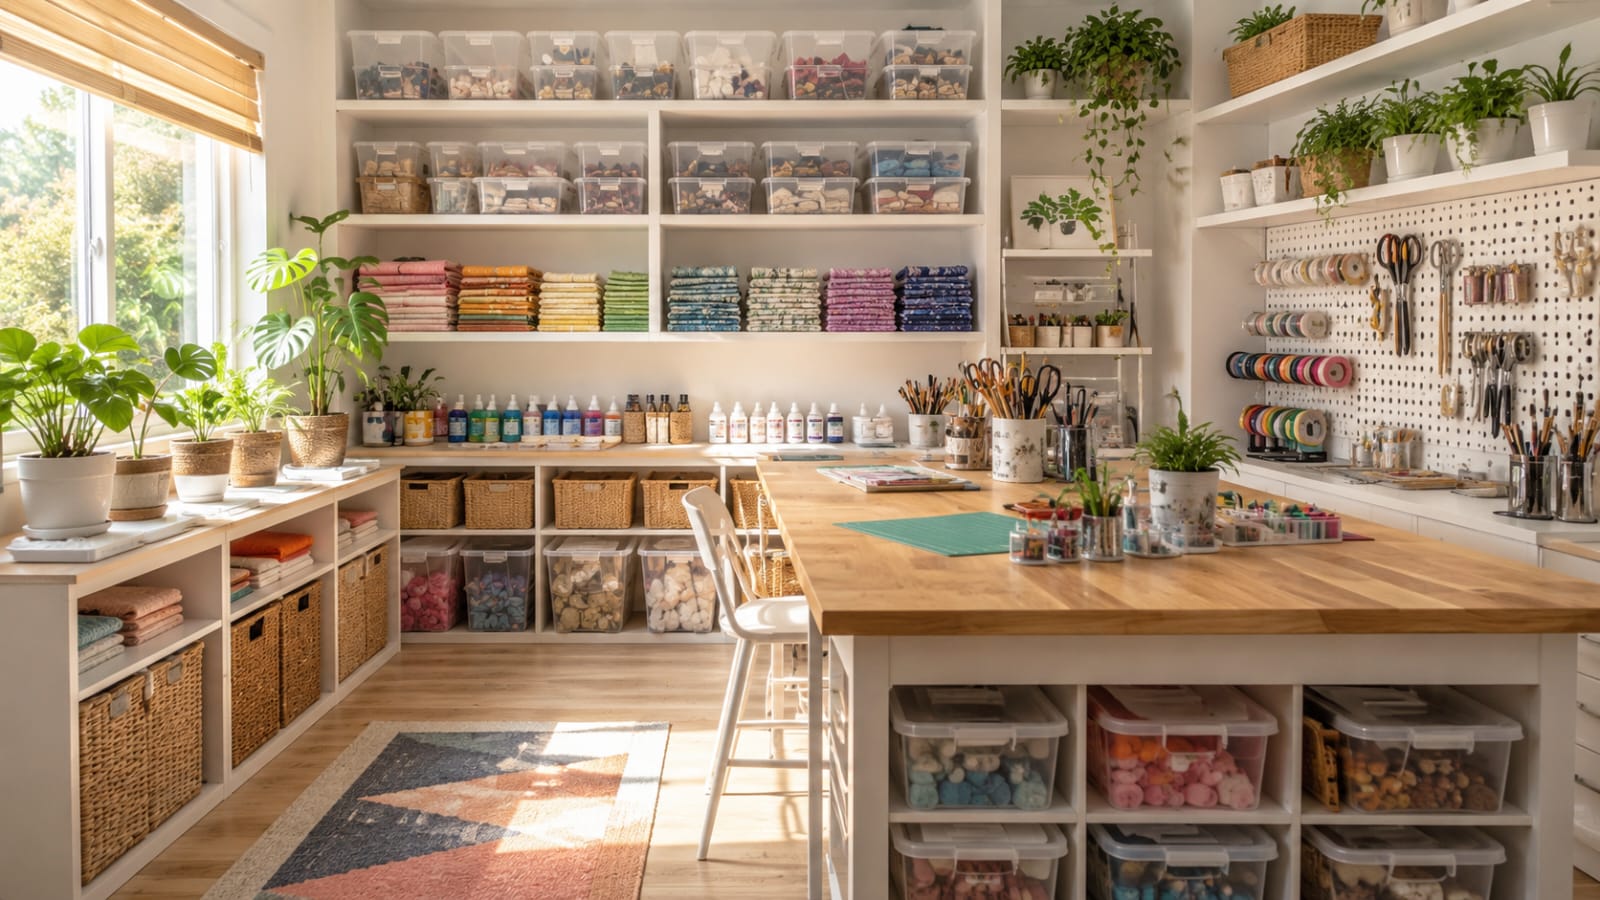
Craft room organization ideas can transform a cluttered craft space into a tidy, creative workspace. When ribbon, paint, and fabric scraps take over every surface, it’s tough to start a project, let alone finish one.
These craft room organization ideas will help you turn chaos into a space that actually works for how you create. Whether you’re working with a full spare room or a small corner, you’ll find practical ways to store supplies and stay inspired.
Design experts at Better Homes & Gardens note that a well-organized craft space directly supports creativity, since less time spent searching for supplies means more time spent making things.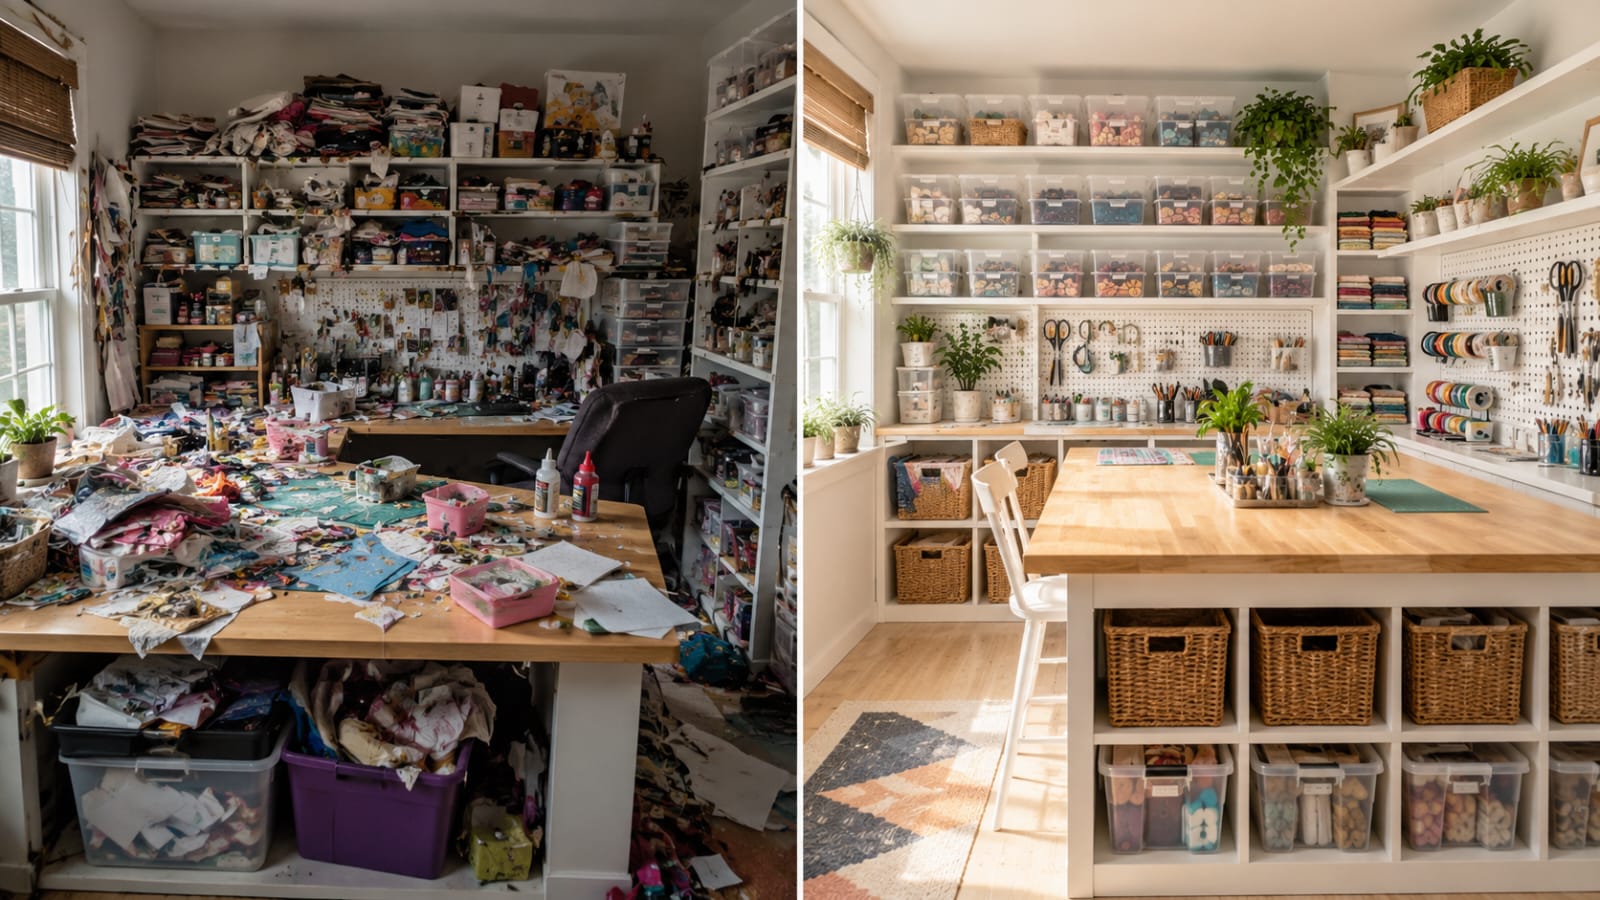
Why These Ideas Actually Work
You don’t need to completely remodel your craft room to make it more organized. Small changes, like adding labels, sorting supplies, or using vertical storage, can make a noticeable difference in how easy your space is to use.
Whether you have a dedicated craft room or just a small corner to work in, these ideas are flexible enough to fit your space, budget, and crafting style.
Quick Tips Box
- Sort supplies by project type before buying storage.
- Use clear containers so nothing gets forgotten.
- Keep frequently used tools within arm’s reach of your work surface.
- Label everything, even if the labels feel excessive at first.
- Leave a little open space so new supplies have somewhere to go.
19 Craft Room Organization Ideas
1. Sort Supplies by Project Type
Before buying any storage, sort every supply into broad categories like sewing, paper crafts, painting, and jewelry making. This step reveals duplicates and forgotten supplies you no longer use.
Why It Works
Grouping supplies by project makes it easy to grab everything you need for a single task at once.
Styling Tip
Keep a “misc” bin for supplies that don’t fit a clear category yet.
Budget Tip
Sorting first means you only buy storage for what you actually keep.
2. Use a Rolling Cart for Mobile Storage
A rolling cart with multiple tiers keeps supplies contained and easy to move between your work surface and storage area. It’s especially useful in shared or multi-purpose rooms.
Why It Works
Mobility means your craft supplies don’t have to live in the same spot you work in.
Styling Tip
Use small bins or drawers within the cart to separate supply types by tier.
Budget Tip
A basic three-tier cart works as well as pricier craft-specific versions.
Our Recommendation: Rolling Craft Storage Cart
3. Add Pegboard for Tools and Ribbon
A pegboard mounted above your work surface keeps scissors, tape, and ribbon spools visible and within reach. It’s one of the most flexible craft room storage ideas since hooks can move as your supplies change.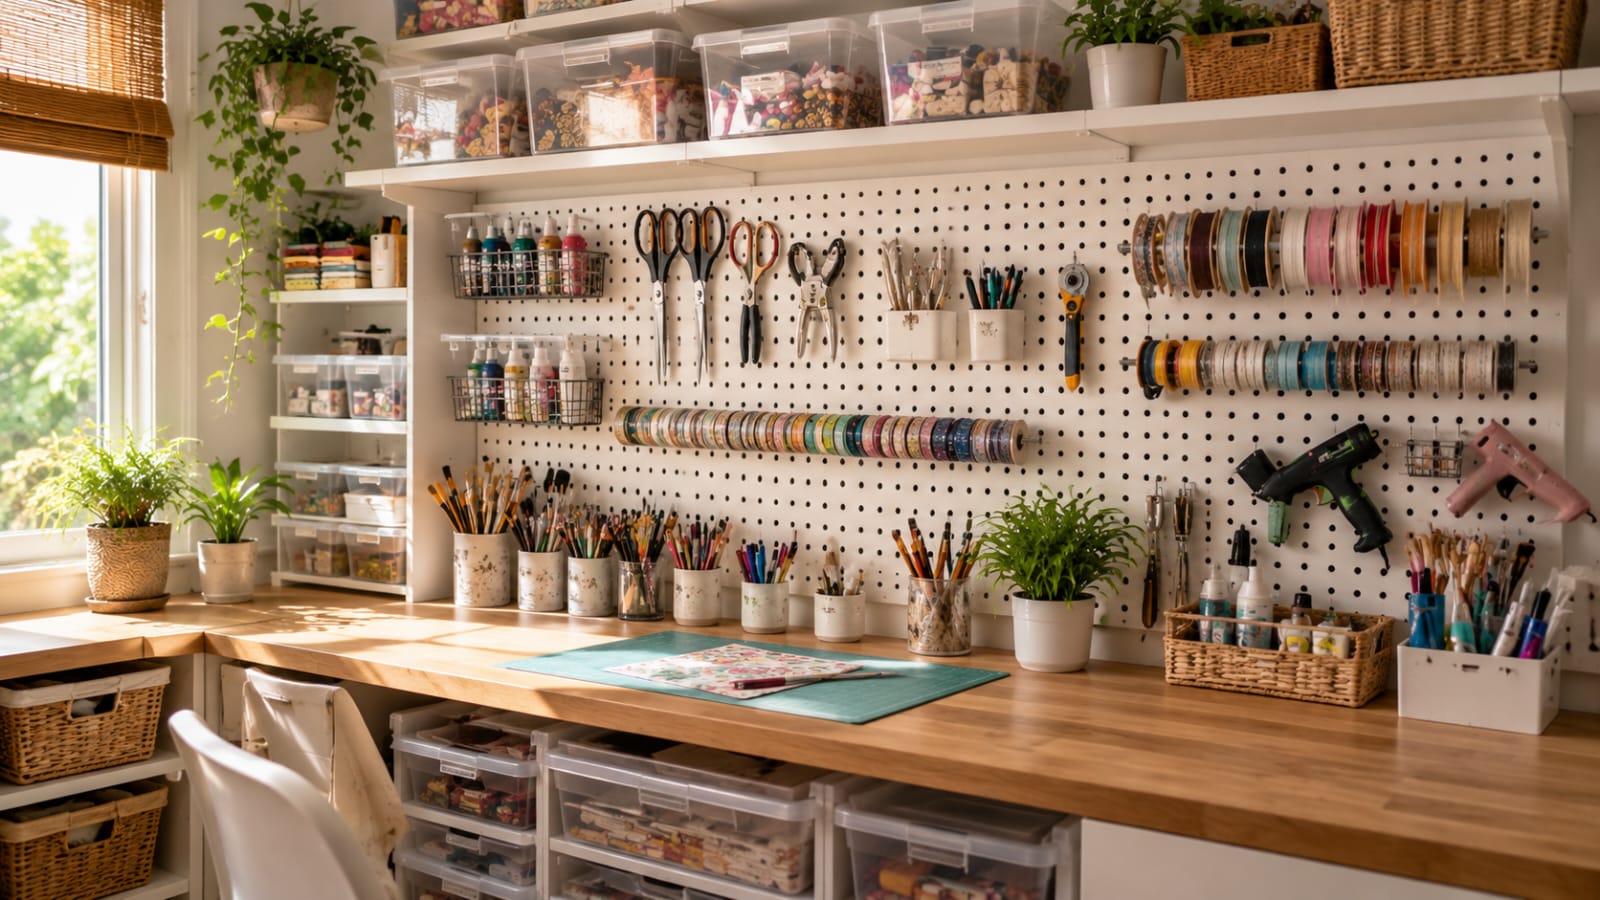
Why It Works
Hanging tools in full view saves time compared to digging through drawers.
Styling Tip
Group similar tools together, like all cutting tools in one section.
Budget Tip
A single pegboard panel and basic hooks cost far less than built-in cabinetry.
4. Use Clear Bins for Fabric and Paper
Clear bins let you see fabric prints or paper colors without opening every container. This is one of the simplest craft room storage solutions for supplies that are hard to label by name alone.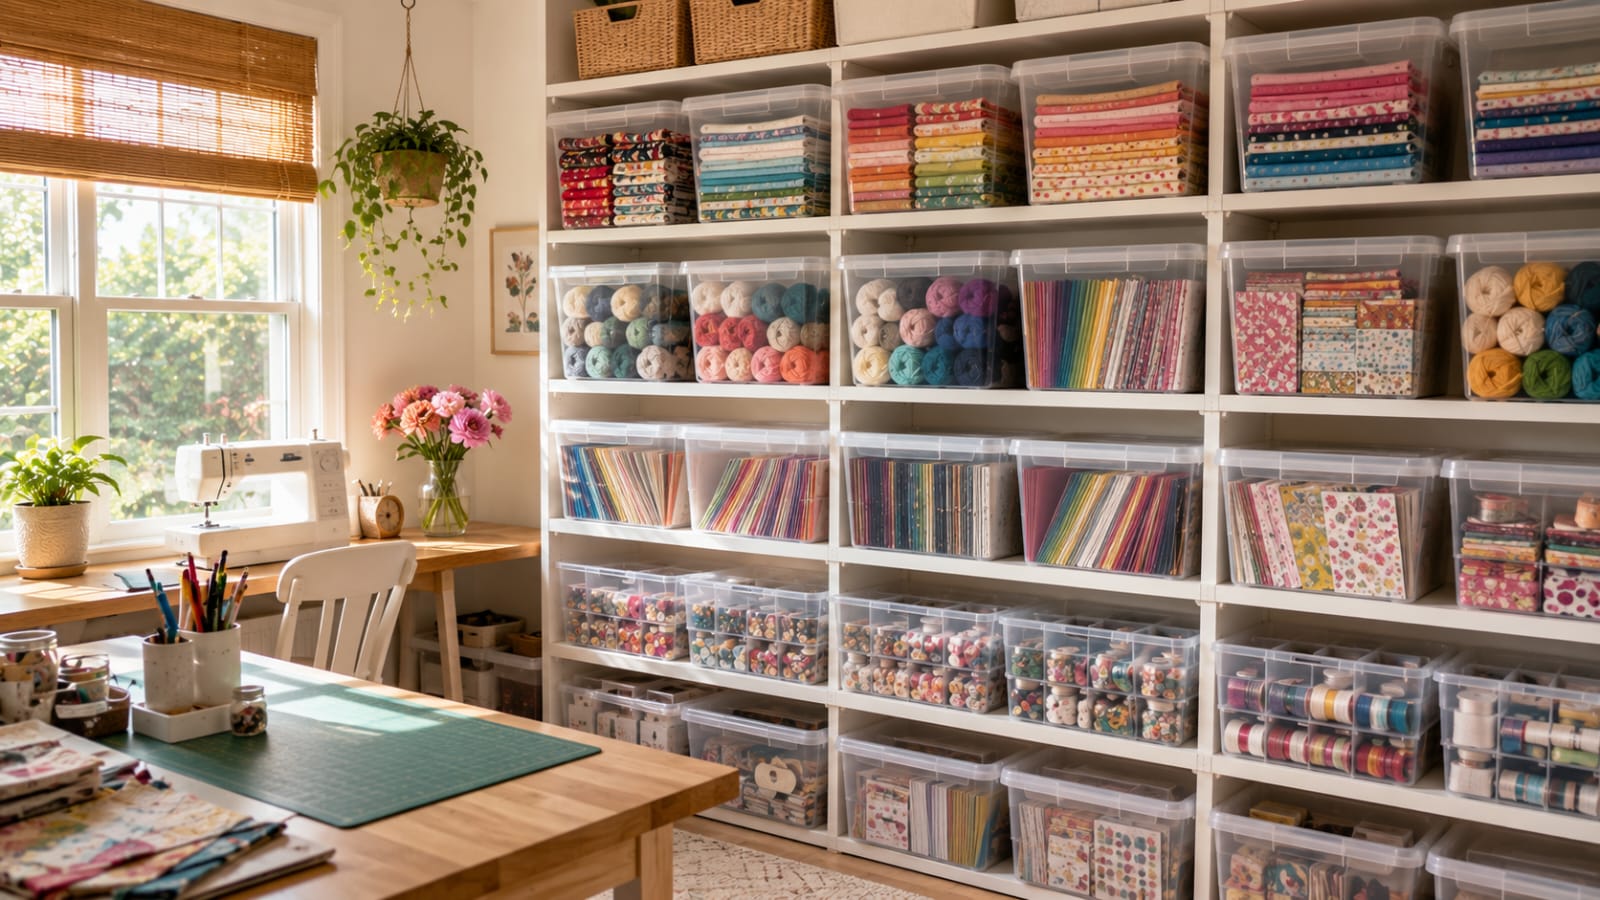
Why It Works
Visibility saves time and prevents buying duplicate supplies you already own.
Styling Tip
Stack bins by size, with larger fabric bins on the bottom and paper bins above.
Budget Tip
Basic clear storage bins from any home store work just as well as specialty craft bins.
Our Recommendation: Clear Stackable Storage Bins
5. Set Up a Dedicated Cutting Station
A cutting mat, ruler, and rotary cutter stored together in one spot saves time on every project. This small station can live on a shelf, in a drawer, or on a rolling cart.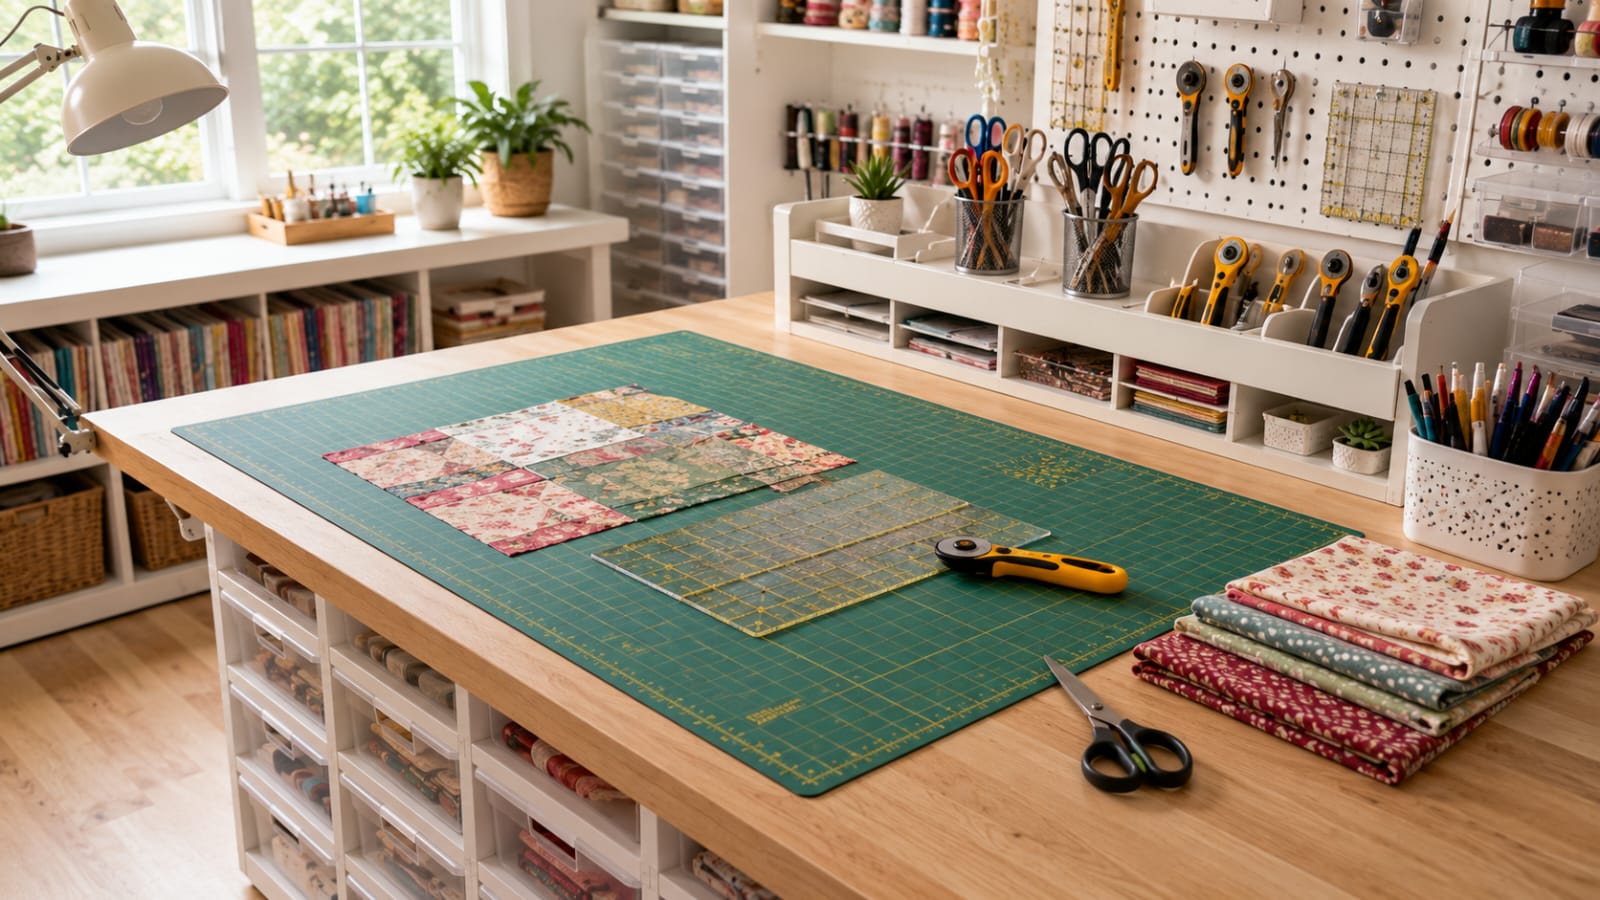
Why It Works
Keeping cutting tools in one place prevents them from getting buried under other supplies.
Styling Tip
Store your cutting mat flat to prevent warping over time.
Budget Tip
A single designated drawer works just as well as a separate cutting table.
6. Add Floating Shelves for Display and Storage
Floating shelves free up floor space while giving you a spot to display supplies like paint jars, washi tape, or finished projects. They work especially well in small craft room ideas where furniture would crowd the space.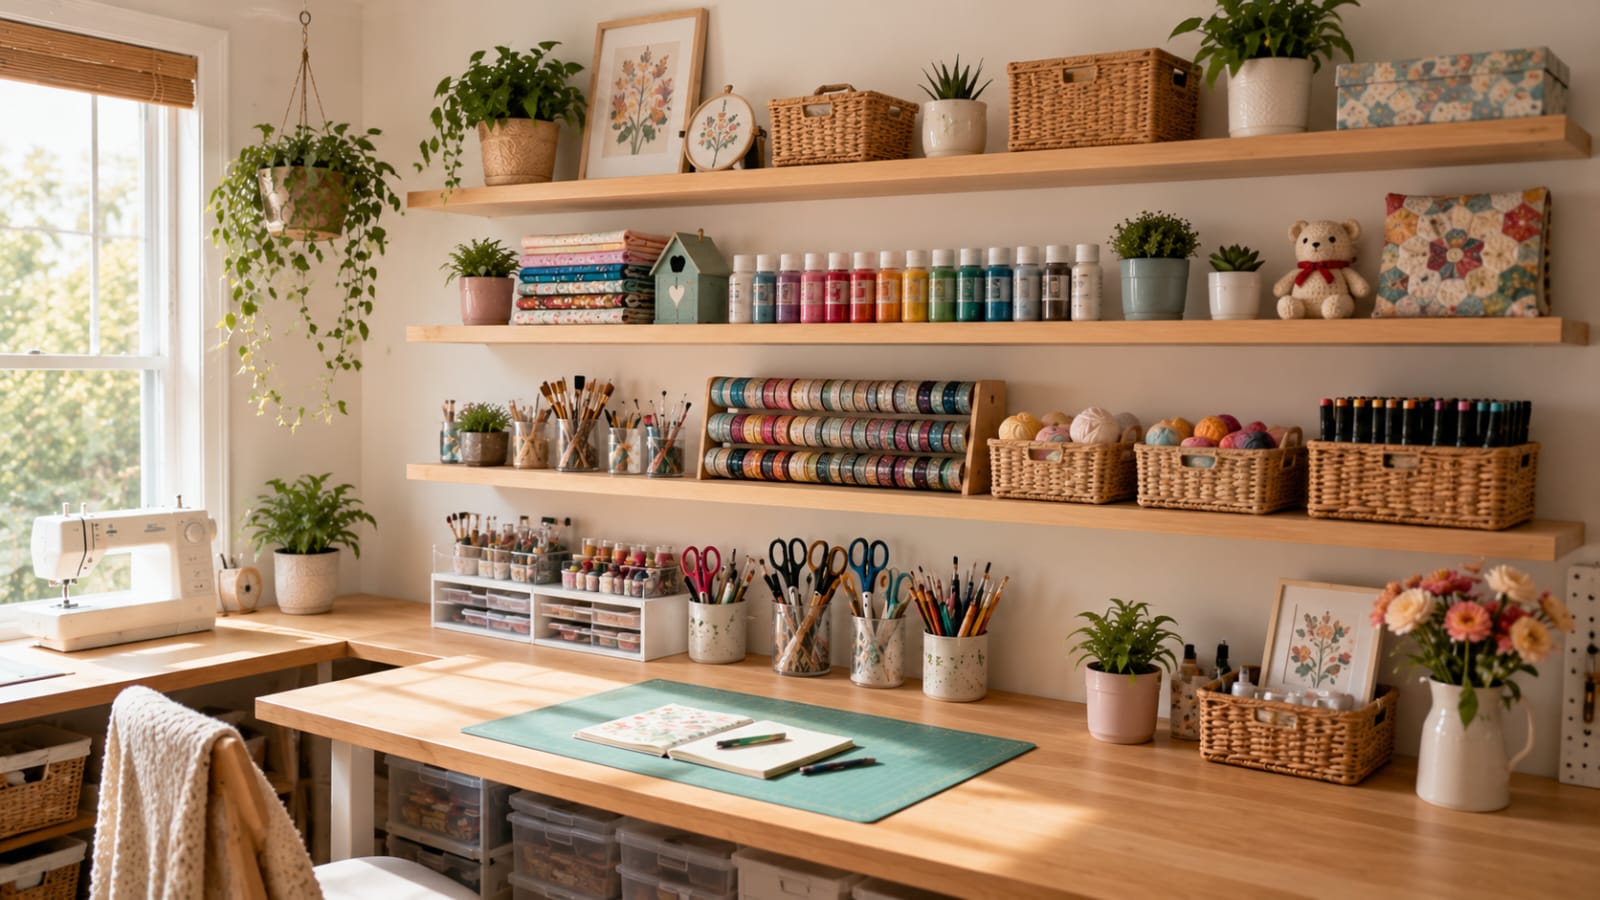
Why It Works
Vertical storage makes use of wall space that would otherwise sit empty.
Styling Tip
Group items by color or type for a tidy, intentional look.
Budget Tip
Simple wood brackets and boards cost less than prebuilt shelving units.
Our Recommendation: Floating Wood Shelves
7. Use a Label Maker for Every Container
Labels turn a shelf of bins into an actual system. A label maker gives you clean, consistent labels that are easy to read at a glance.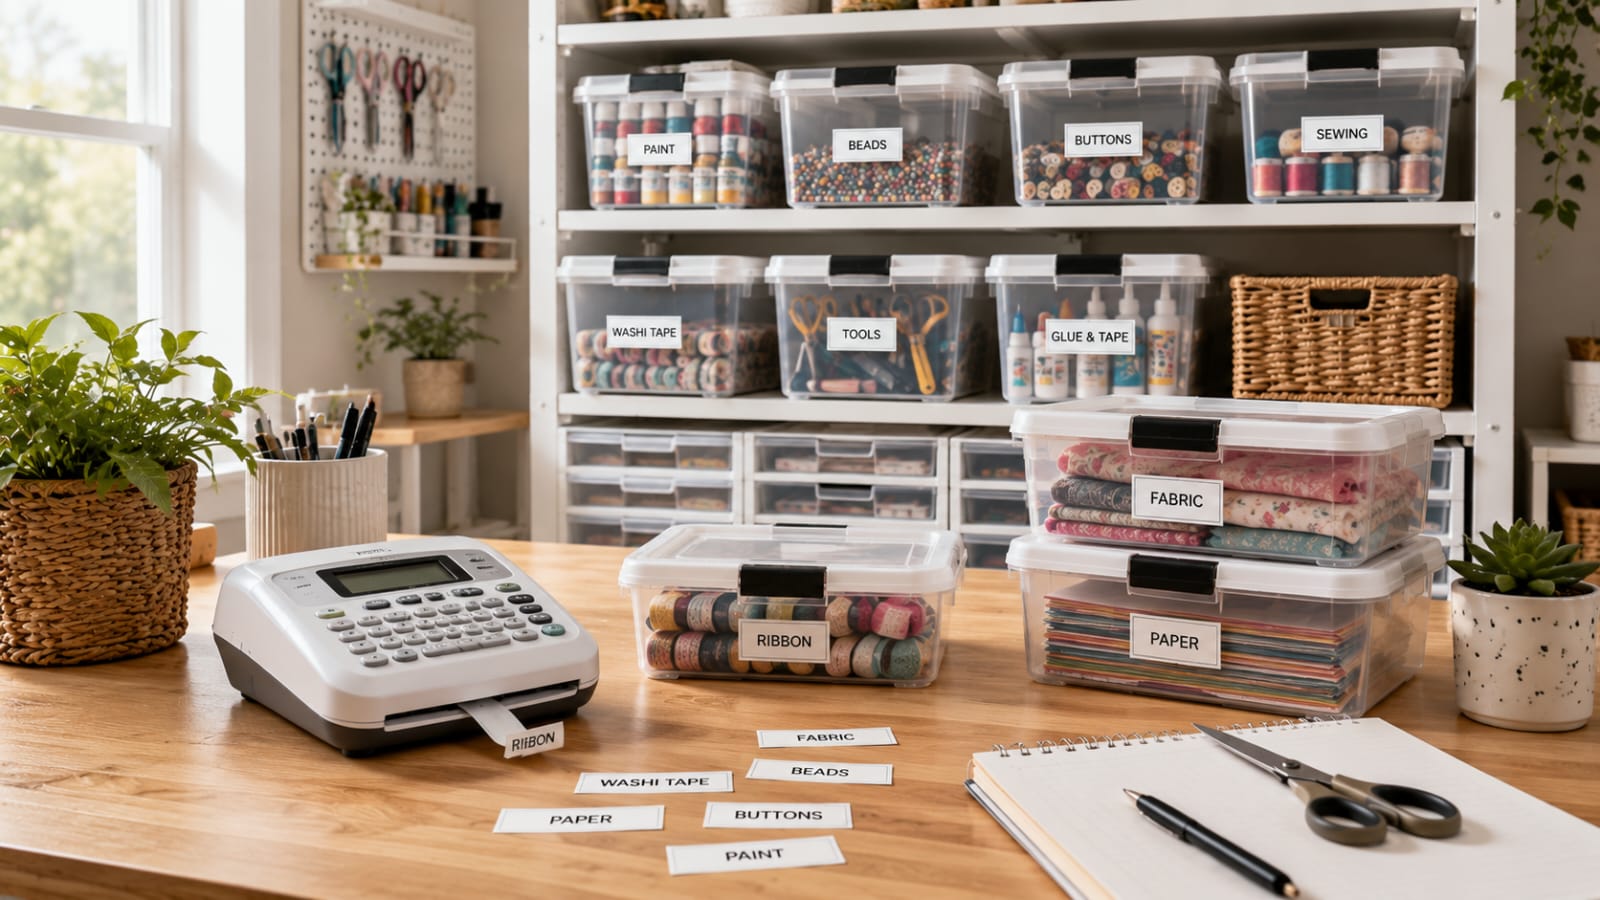
Why It Works
Clear labels mean less time searching and more time creating.
Styling Tip
Use the same label style throughout the room for a cohesive, organized look.
Budget Tip
A basic label maker pays for itself quickly by saving search time on every project.
8. Organize Paint by Color
Storing paint bottles or tubes by color rather than brand makes it much easier to find the exact shade you need. This works well on a shelf, in a drawer, or inside a caddy.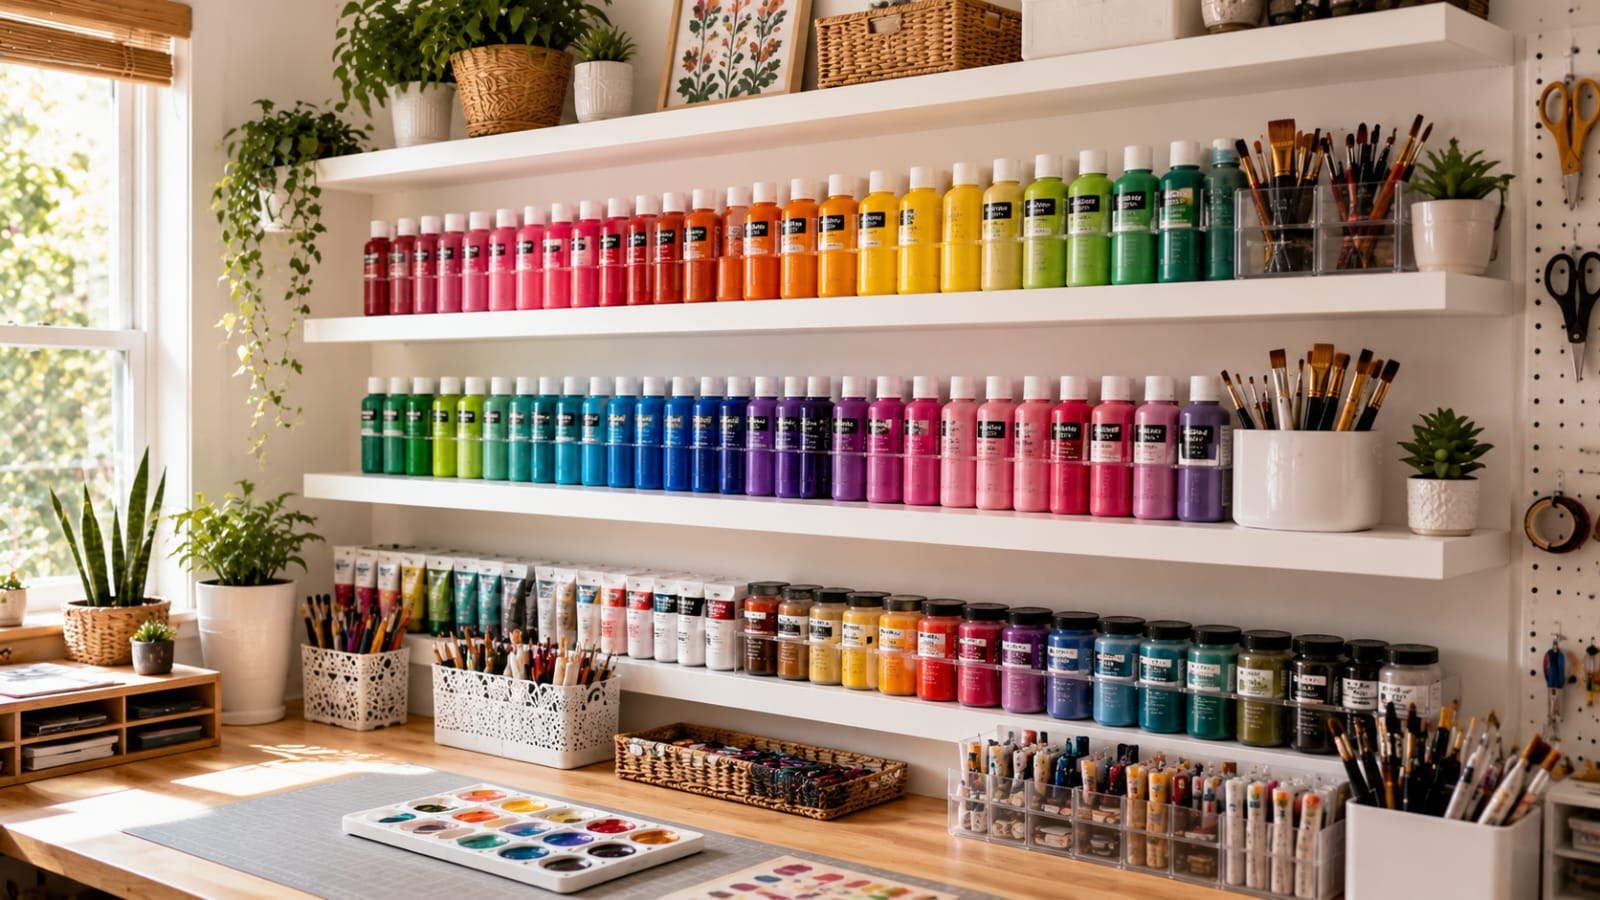
Why It Works
Color-based sorting matches how most crafters actually think while working on a project.
Styling Tip
Use a small turntable or lazy Susan to make colors easy to spot and reach.
Budget Tip
A repurposed muffin tin or drawer organizer works as well as a specialty paint caddy.
9. Use a Thread and Ribbon Organizer
A dedicated spool rack or ribbon organizer keeps thread and ribbon from tangling into a knotted mess. Mounting it on a wall also saves drawer space for other supplies.
Why It Works
Visible, untangled thread and ribbon save time during sewing and wrapping projects.
Styling Tip
Sort spools by color for a display that doubles as decor.
Budget Tip
A pegboard with dowels can replace a store-bought spool rack at a lower cost.
10. Add a Pegboard Above the Desk
Beyond tools, a second pegboard section above your desk can hold small jars, scissors, or a mounted cup for pens and markers. This keeps your main work surface clear for actual crafting.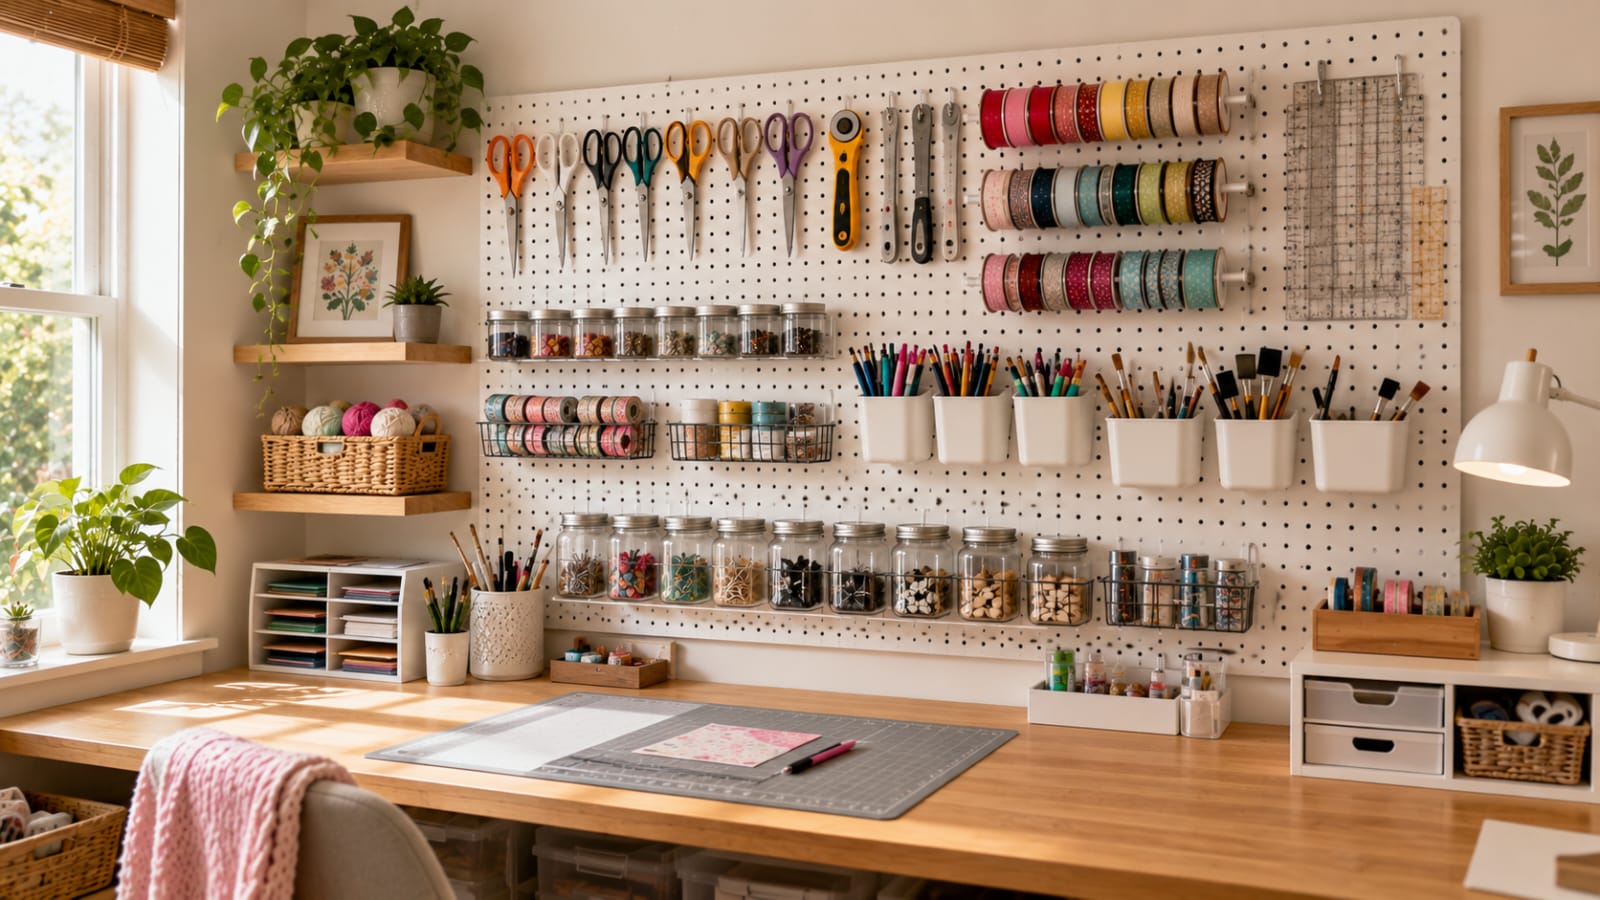
Why It Works
A clear desk reduces visual clutter and gives you more room to work on projects.
Styling Tip
Use small wire baskets on the pegboard for loose items like clips and pins.
Budget Tip
Extending an existing pegboard is cheaper than adding a separate storage unit.
11. Use Drawer Units for Small Supplies
Stackable drawer units are ideal for beads, buttons, stickers, and other small items that get lost in larger bins. Clear drawers make it easy to see contents without opening each one.
Why It Works
Small compartments prevent tiny supplies from mixing together into a messy jumble.
Styling Tip
Label each drawer with both text and a small sample of the contents.
Budget Tip
A single multi-drawer unit often replaces several smaller containers.
12. Create a Wrapping Station
A dedicated spot for wrapping paper, ribbon, tags, and tape makes gift wrapping far less stressful. This can be a narrow rolling cart or a single shelf in a closet.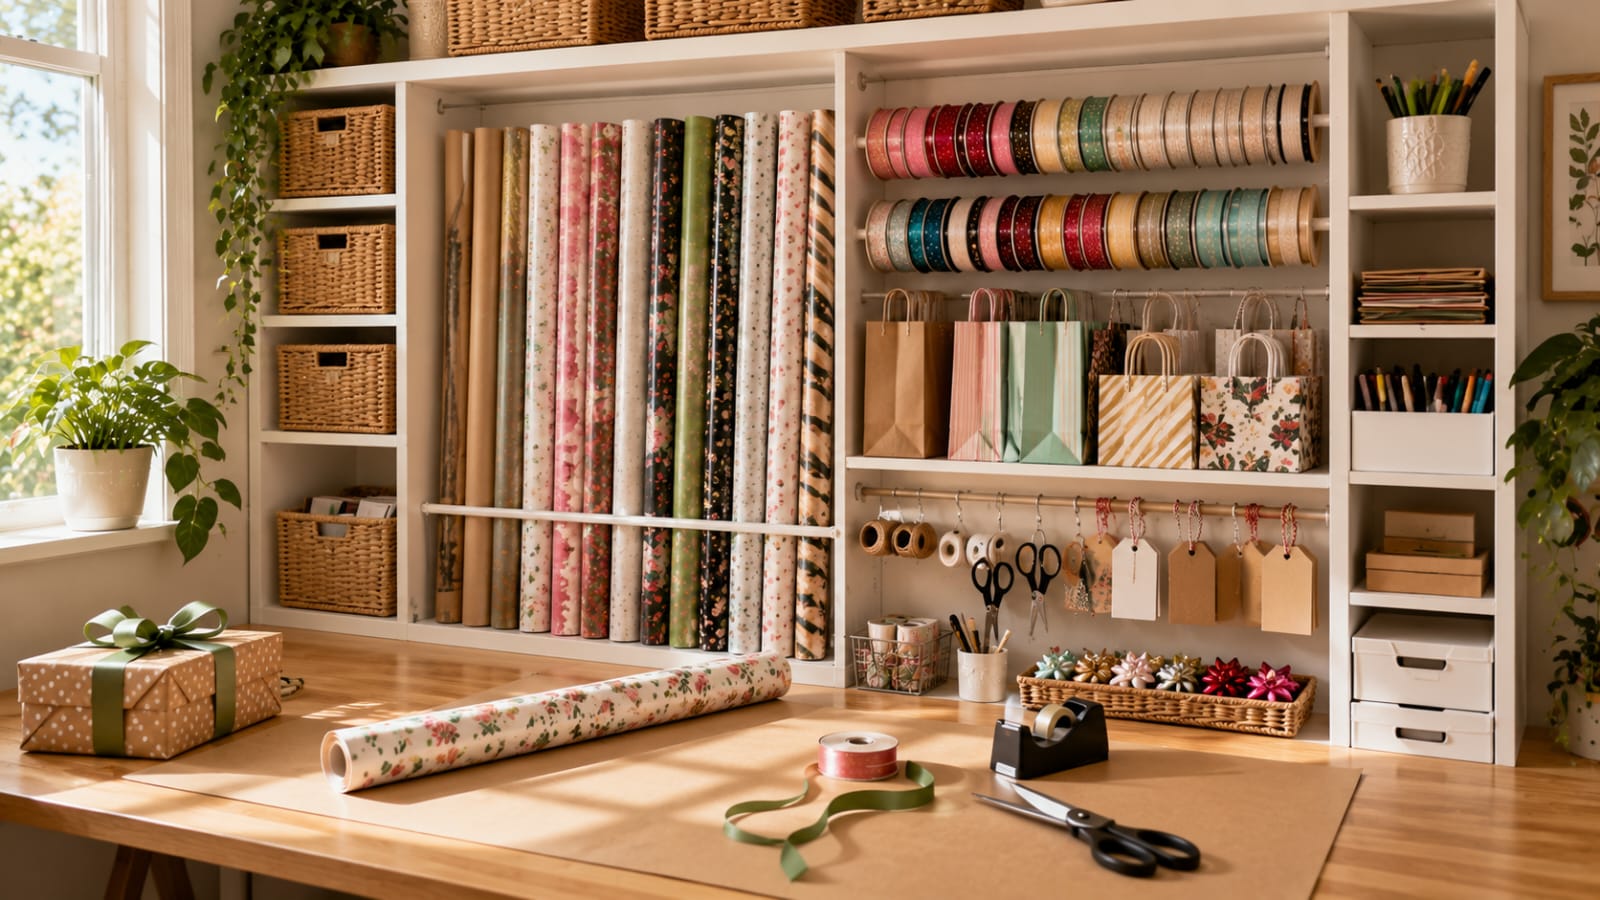
Why It Works
Having every wrapping supply in one place means less searching during busy seasons.
Styling Tip
Store wrapping paper rolls upright in a tall basket or box for easy access.
Budget Tip
A repurposed closet shelf works just as well as a dedicated wrapping table.
13. Use Baskets for Works in Progress
Unfinished projects need a home too. A basket or bin dedicated to works in progress keeps half-finished crafts from cluttering your work surface between sessions.
Why It Works
A clear spot for unfinished work makes it easier to pick projects back up without losing pieces.
Styling Tip
Use one basket per active project rather than combining everything into one bin.
Budget Tip
Baskets you already own for other purposes can be repurposed here at no extra cost.
14. Add a Corkboard for Inspiration
A corkboard near your work area gives you a spot to pin patterns, color swatches, and project ideas. It also keeps loose inspiration pages from piling up on your desk.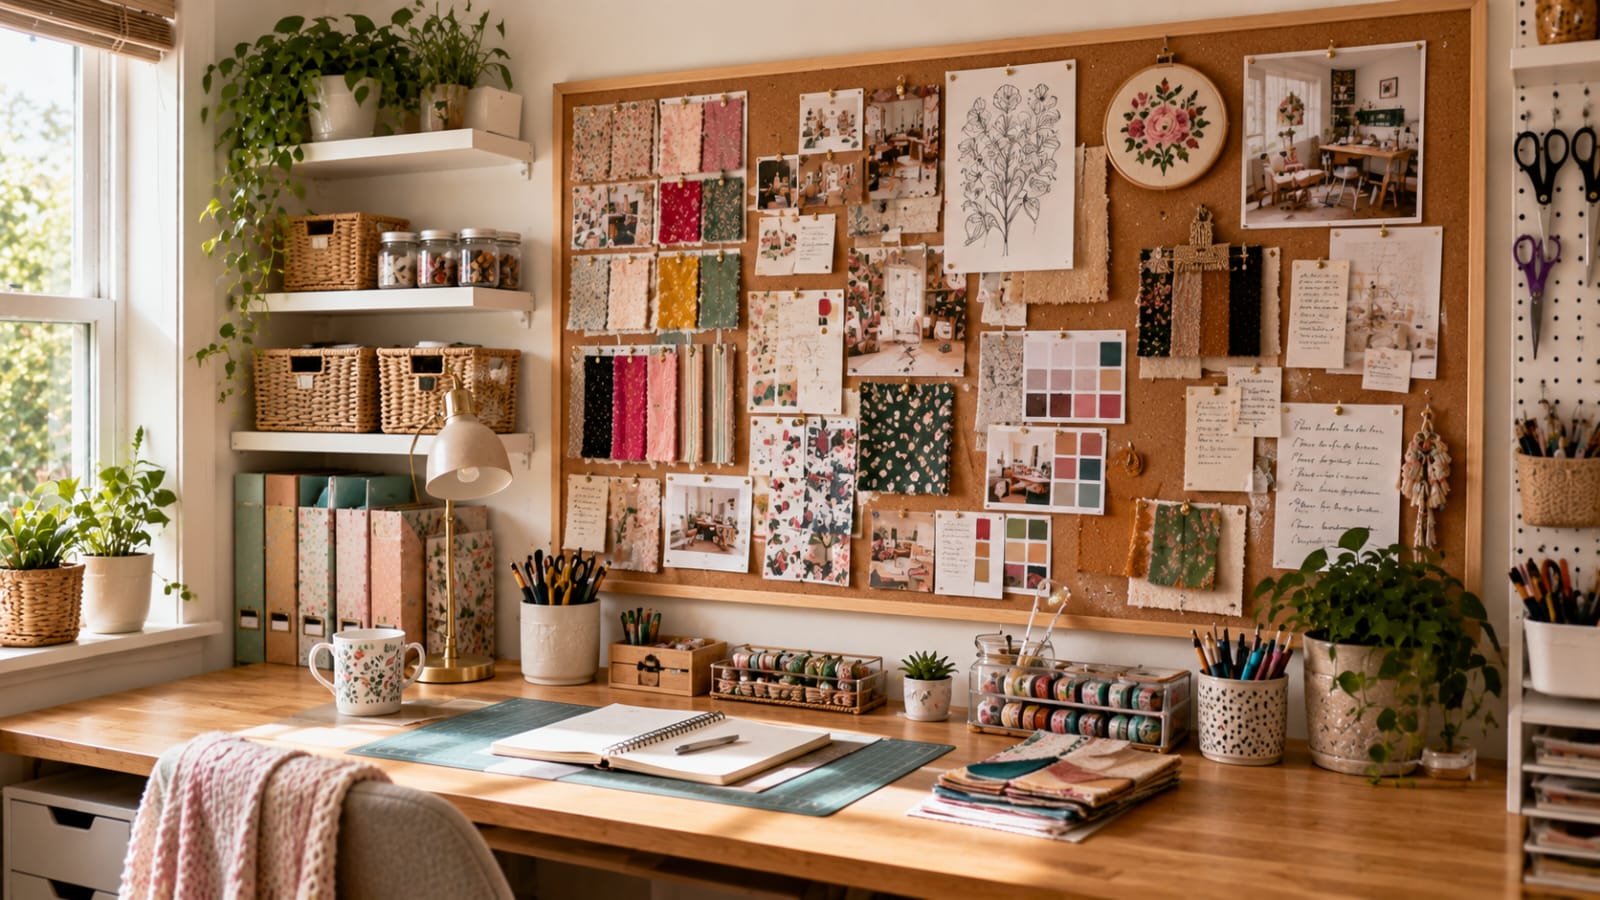
Why It Works
Visual inspiration close to your workspace keeps creative momentum going.
Styling Tip
Rotate pinned items regularly so the board stays useful rather than cluttered.
Budget Tip
A basic corkboard from any craft or home store works fine without upgrading to a premium version.
15. Use a Vertical File Holder for Paper
Vertical file holders keep scrapbook paper, cardstock, and stickers upright and easy to flip through, similar to browsing a bin of records. This prevents paper from bending or getting lost in a stack.
Why It Works
Vertical storage protects paper edges better than stacking sheets flat.
Styling Tip
Sort paper by color or pattern type within the holder for faster browsing.
Budget Tip
A simple file holder or magazine rack works as well as a dedicated paper organizer.
16. Set Up a Sewing Station Separately
If sewing is part of your craft routine, give it its own defined area rather than mixing it in with other supplies. This keeps pins, fabric, and thread from spreading into unrelated projects.
Why It Works
A dedicated sewing room organization zone reduces setup and cleanup time for every project.
Styling Tip
Keep your machine plugged in and ready if space allows, so sewing feels less like a chore to start.
Budget Tip
A small folding table can create a sewing station without a permanent furniture investment.
17. Use Stackable Bins for Bulk Supplies
Bulk supplies like felt sheets, yarn, or extra fabric take up less room when stored in stackable bins. This works especially well in closets or on high shelves.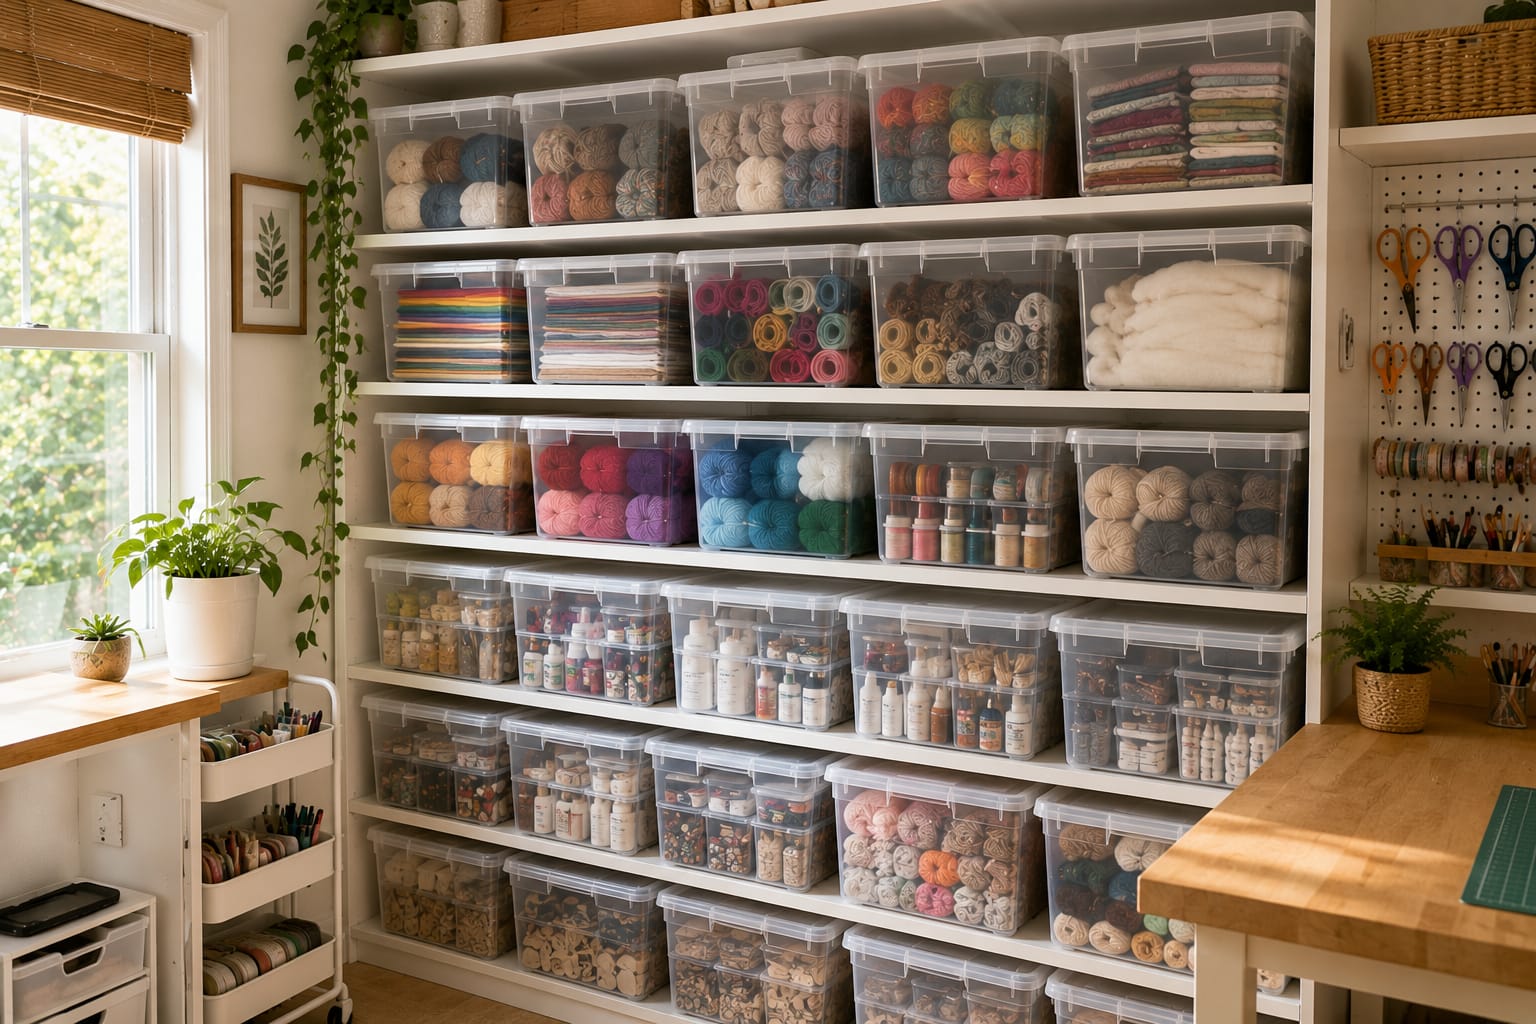
Why It Works
Stacking maximizes vertical space, which matters most in small craft room ideas.
Styling Tip
Keep frequently used bulk supplies on lower stacks and rarely used ones higher up.
Budget Tip
Choose bins designed to interlock securely so stacks stay stable over time.
Our Recommendation: Stackable Craft Storage Bins
18. Add Task Lighting Over Your Work Area
Good lighting matters as much as storage for a functional craft space. A task lamp or under-shelf light reduces eye strain during detailed work like sewing or painting.
Why It Works
Proper lighting improves accuracy and makes long crafting sessions more comfortable.
Styling Tip
Choose a lamp with an adjustable arm so you can direct light exactly where you need it.
Budget Tip
A single clip-on task lamp is far cheaper than rewiring overhead lighting.
Our Recommendation: Adjustable Craft Task Lamp
19. Keep a Donation Box for Unused Supplies
Keep a bin specifically for supplies you no longer use, whether it’s fabric scraps, old paint, or supplies from an abandoned project. This keeps decluttering an ongoing habit instead of an overwhelming yearly task.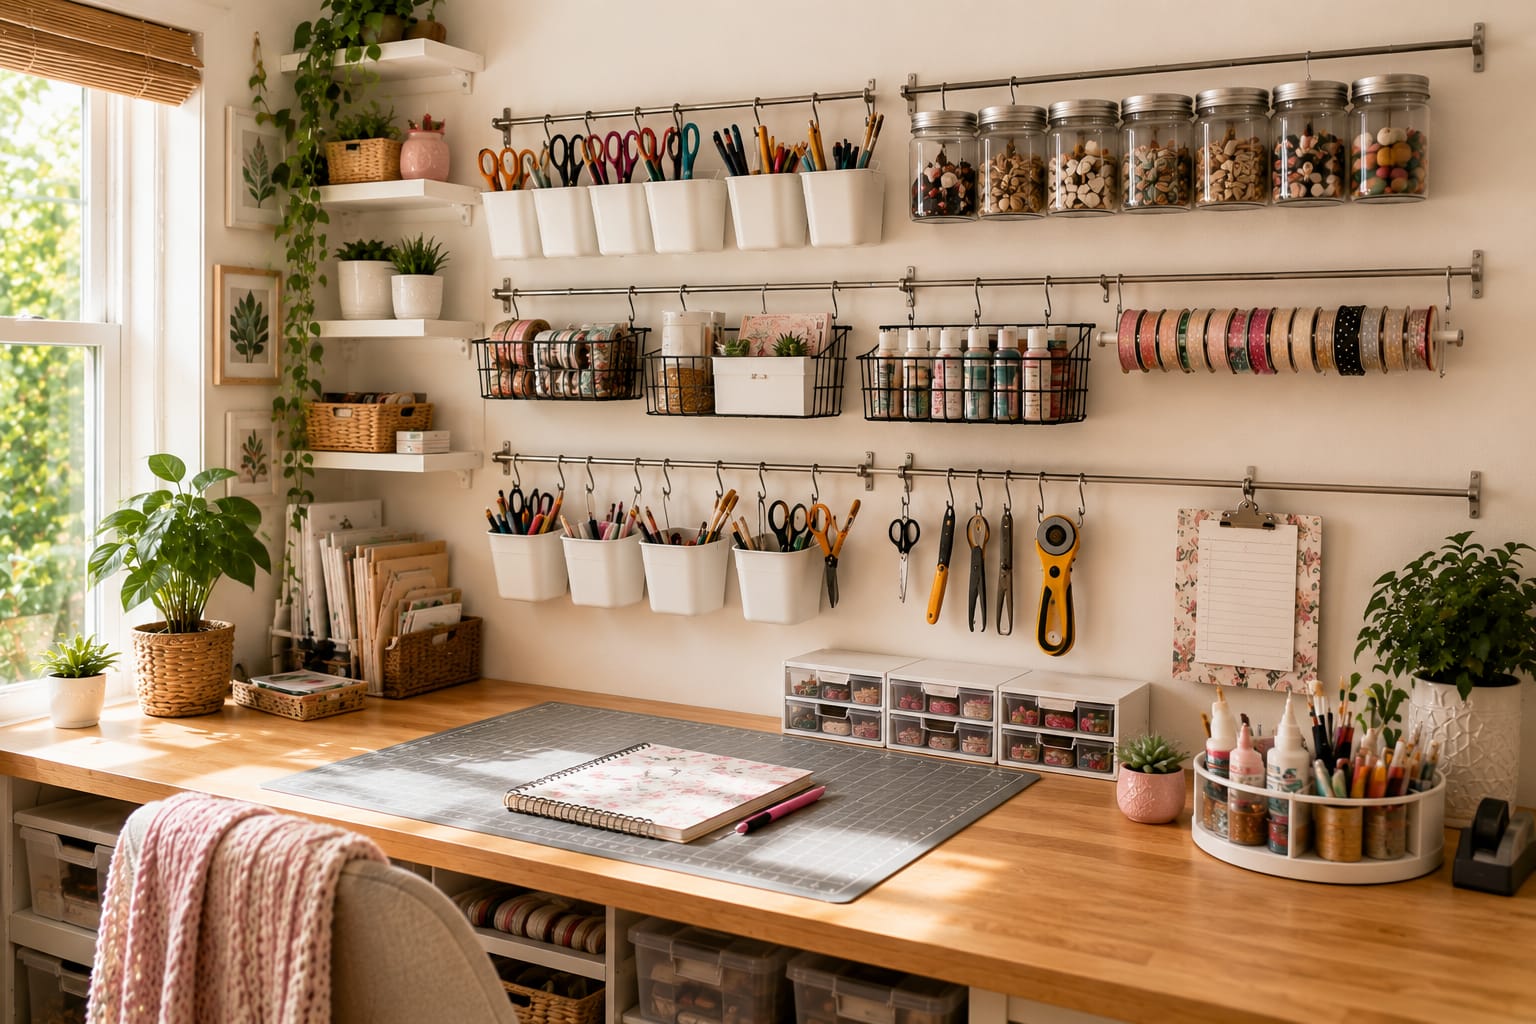
Why It Works
Regularly removing unused supplies keeps your craft room organization system from becoming overloaded again.
Styling Tip
Set the box somewhere visible so it doesn’t get forgotten in a corner.
Budget Tip
Many craft supply donations qualify for tax deductions, so keep a simple log if that matters to you.
Craft Storage at a Glance
Here’s a quick comparison of the most effective craft room storage solutions to help you choose the right option for your space and budget.
| Storage Solution | Budget | Impact |
|---|---|---|
| Clear Bins | Low | High |
| Pegboard | Low | High |
| Rolling Cart | Medium | High |
| Drawer Units | Medium | Medium |
| Floating Shelves | Medium | High |
| Task Lighting | Low | High |
| Vertical File Holder | Low | Medium |
Best Products for Craft Room Organization Ideas
- Clear stackable storage bins for fabric, paper, and bulk supplies
- Pegboard panels and hooks for tools and ribbon
- Rolling utility carts for mobile, multi-tier storage
- Drawer organizer units for beads, buttons, and small items
- Floating shelves for display and vertical storage
- Label maker for consistent, readable labels
- Task lamps for detailed work
- Vertical file holders for paper and cardstock
Look for products with reviews mentioning durability, since craft supplies are heavier and used more often than typical home decor items.
Common Craft Room Organization Ideas Mistakes to Avoid
- Buying storage before sorting. Sorting first means you only organize supplies you actually use.
- Skipping labels. Without labels, even a good system falls apart within weeks.
- Ignoring vertical space. Walls and shelves often go unused while floor space gets crowded.
- Mixing unrelated supplies. Combining sewing and painting supplies in one bin slows down every project.
- Forgetting lighting. Poor lighting makes even a well-organized space hard to work in.
A quick safety note: Store sharp tools like rotary cutters and scissors in closed containers if children or pets have access to the craft room. The Consumer Product Safety Commission recommends keeping small, swallowable craft supplies like beads and buttons out of reach of children under 3.
[IMAGE: Flat-lay of recommended craft room organization products including bins, pegboard, and labels. ALT: “Recommended craft room organization products and storage bins”]
Looking for More Home Inspiration?
You may also enjoy:
- Home Office Organization Ideas
- Kids Room Organization Ideas
- Toy Organization Ideas
- Small Closet Organization Ideas
- Mudroom Organization Ideas
Frequently Asked Questions
What is the best way to organize a small craft room? Focus on vertical storage like pegboards and floating shelves, and use a rolling cart for supplies that need to move between spaces.
How do I organize craft supplies on a budget? Start by sorting and labeling what you already own. Basic clear bins, a pegboard, and a label maker cover most craft room storage solutions without a big investment.
What’s the best way to store fabric? Clear bins sorted by color or fabric type work best, since visibility helps prevent buying duplicate fabric you already own.
How often should I declutter my craft room? A light sort every few months works well, with a deeper declutter once or twice a year as projects and interests change.
Can I set up craft room organization ideas in a shared space? Yes. A rolling cart or a single labeled shelf can contain your supplies neatly, even in a shared office or living room.
What’s the biggest mistake people make organizing a craft room? Buying storage before sorting supplies. Removing unused items first makes any system, bins, shelves, or carts, far more effective.
Conclusion
Craft room organization ideas work best when they match how you actually create, not just how a space looks. Start with one category, like fabric or paint, sort it, and give it a clear home.
A tidy, functional craft room means less time searching and more time making. These craft room organization ideas are easy to adapt to any space, whether you have a dedicated craft room or a small creative corner. Start with the area that frustrates you most and improve it first.

Hi, I’m Shankar, the founder of Nestory Home. I share practical home organization, storage, and home decor ideas to help you create a clean, functional, and beautiful home. Every guide is designed to be simple, budget-friendly, and easy to put into practice.