
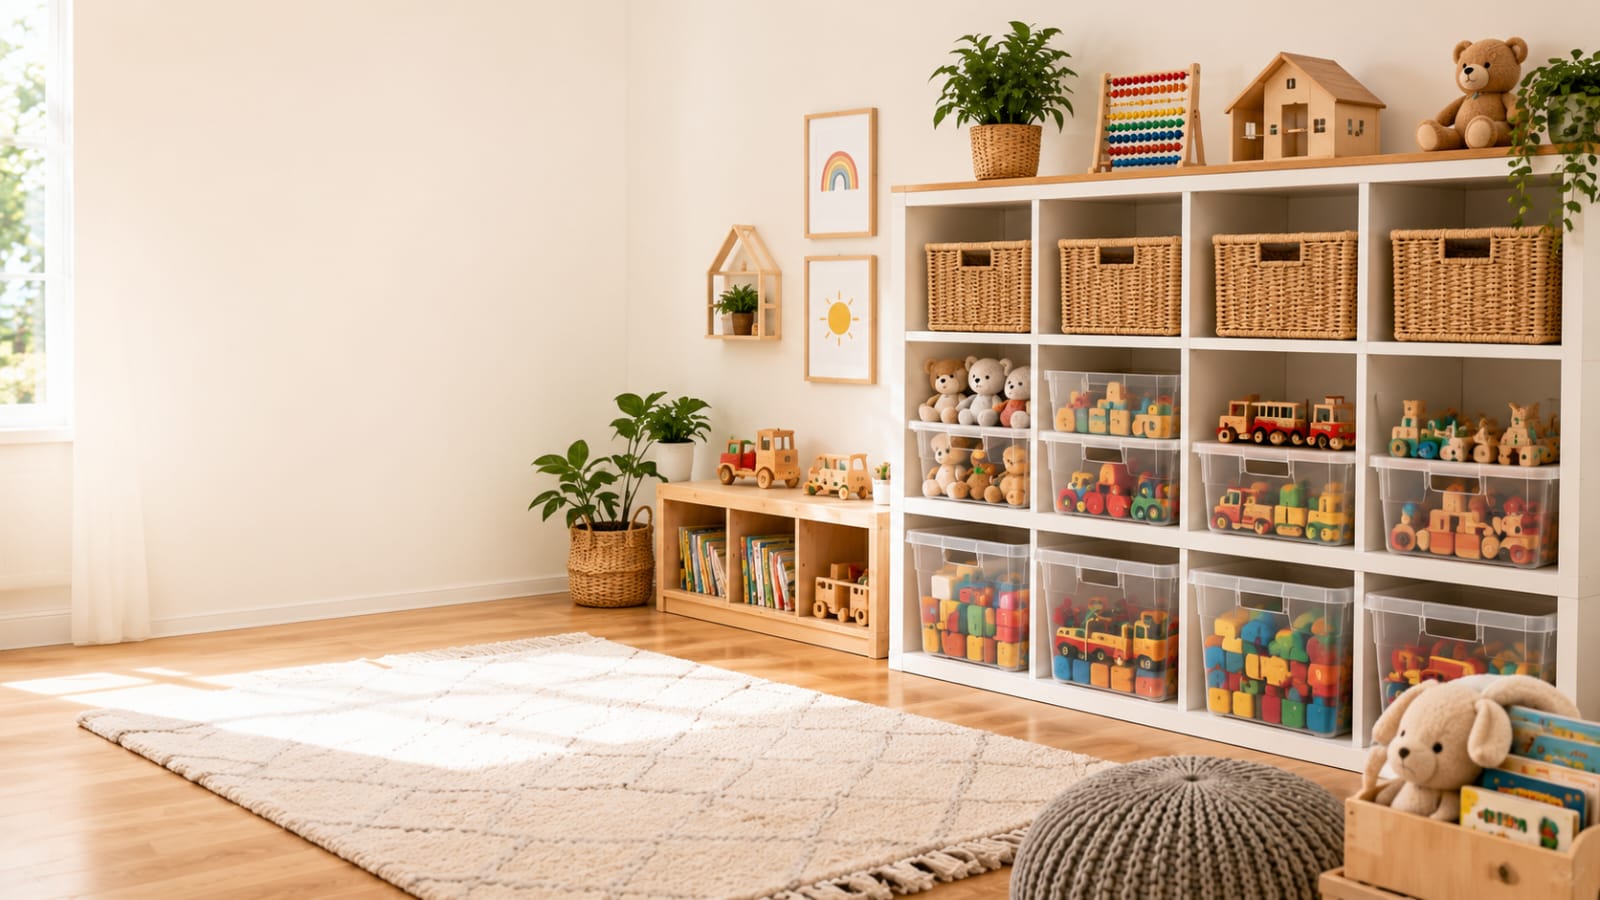
Toy organization ideas can make a huge difference in keeping your home neat and stress-free. If you’ve ever stepped on a stray LEGO brick at midnight, you already know why toy organization matters. Toys multiply fast, and without a system, they end up everywhere.
You don’t need a Pinterest-perfect playroom or a big budget to fix this, just the right toy organization ideas, applied consistently.
In this guide, you’ll find 29 practical toy storage ideas that work for small apartments, shared kids’ rooms, and dedicated playrooms alike. Most use bins, shelves, and furniture you already own.
By the end, you’ll have a clear plan for turning toy chaos into a system your whole family can maintain, including the kids.
What Are Toy Organization Ideas?
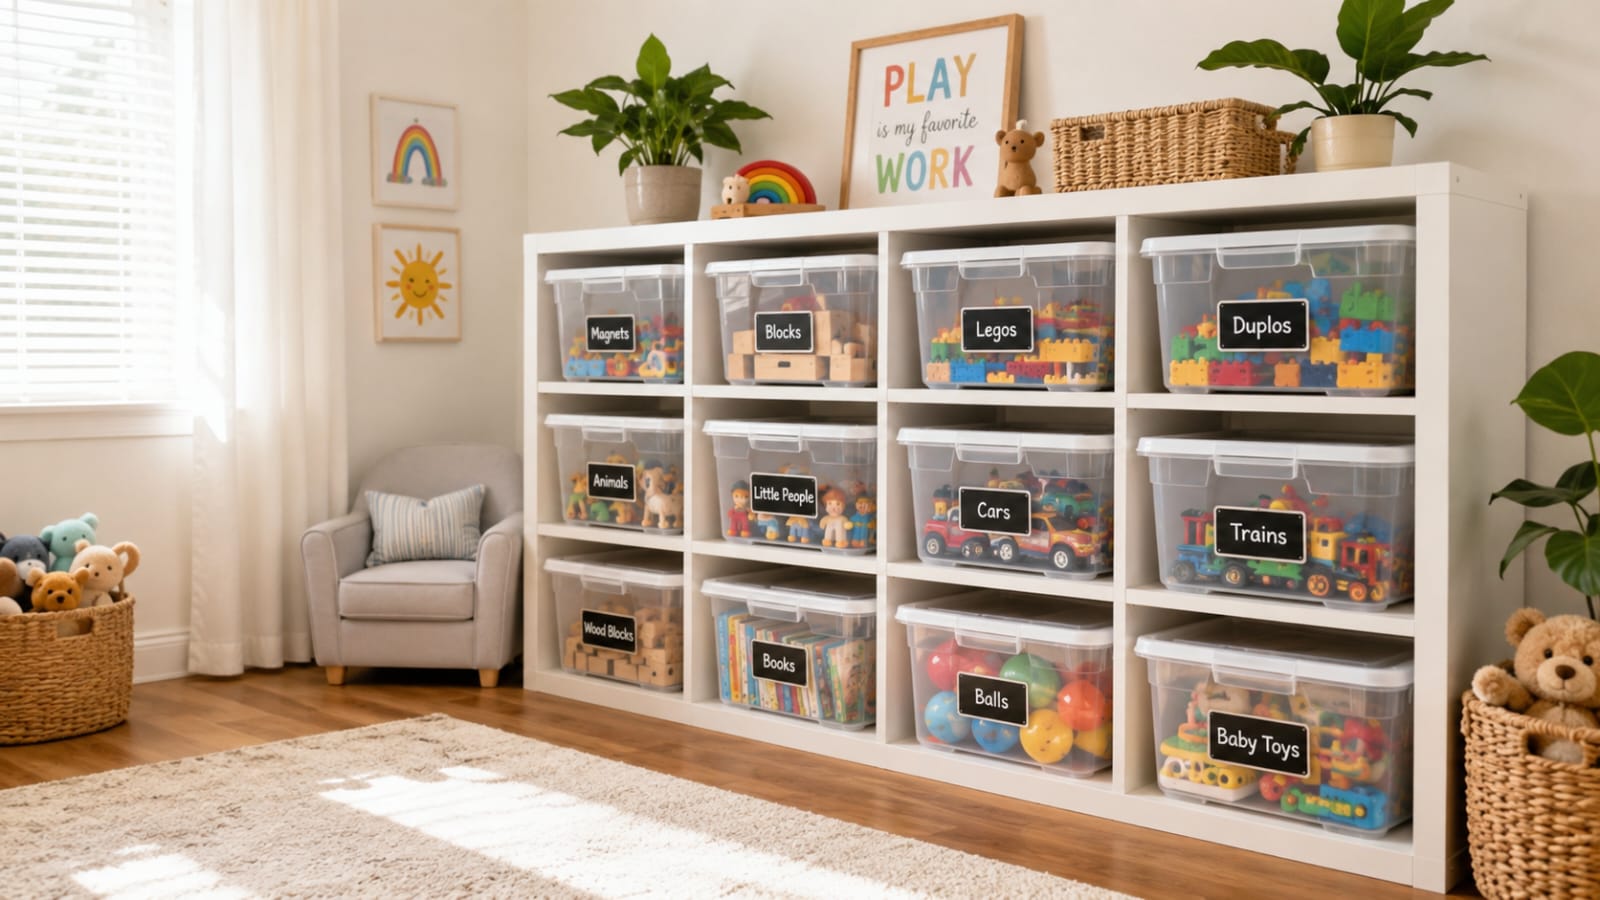
Toy organization ideas are practical strategies for sorting, storing, and displaying children’s toys so they’re easy to find and easy to put away. It’s not about hiding everything in boxes, it’s about creating a system that matches how your kids actually play.
The best toy storage solutions share three things in common:
- Visibility, kids can see what they own
- Accessibility, kids can reach and return toys independently
- Simplicity, the system doesn’t require an adult to maintain it
When these three elements work together, cleanup stops being a battle.
29 Detailed Toy Organization Ideas
1. Sort Toys by Category, Not Type
Before you buy a single bin, sort every toy into broad categories: building toys, pretend play, vehicles, art supplies, and stuffed animals.
Sorting by category makes it easier for kids to find what they want. It also reveals duplicates and forgotten toys you can donate.
- Group similar items together first, before deciding on containers
- Involve kids in sorting, they know which toys they still love
- Set aside a “maybe” pile for toys you’re unsure about
2. Use Clear Bins for Instant Visibility
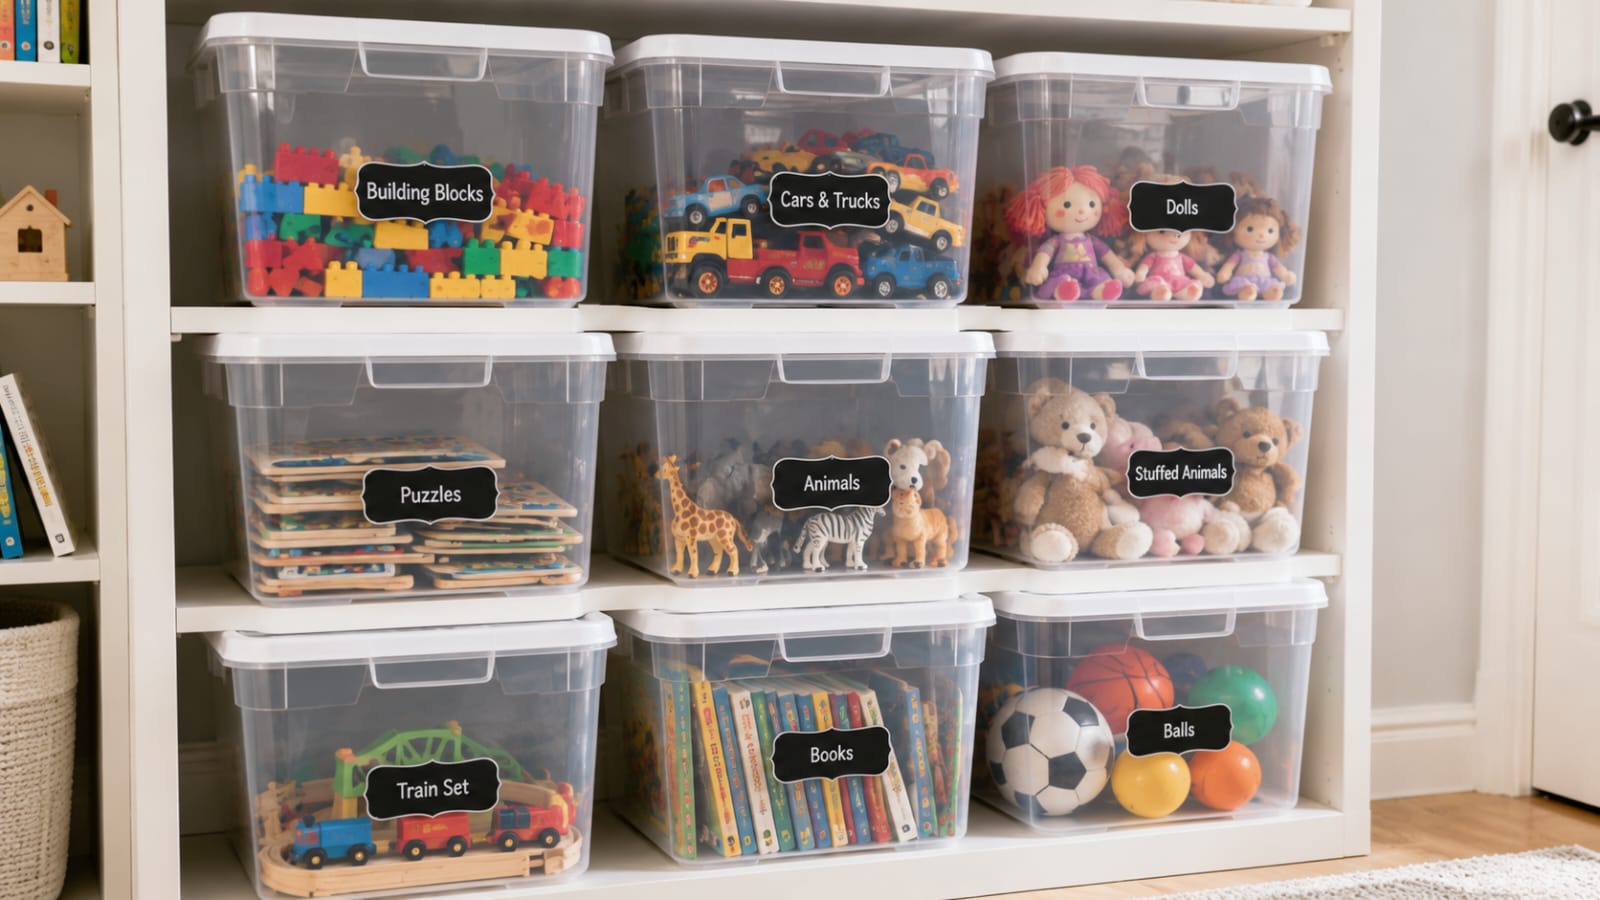
Clear bins make a bigger difference than most people expect. When kids can see what’s inside, they’re more likely to put things back.
Opaque bins might look tidier, but they become mystery boxes. Kids dump them out looking for one toy, then leave the rest on the floor.
- Choose stackable, clear bins with sturdy lids
- Reserve opaque bins for extra storage in closets, not daily use
- Match bin sizes to your shelving for a clean, uniform look
3. Label Everything With Words and Pictures
Labels turn a pile of bins into an actual system. Use pictures for toddlers, text for kids who can read.
- Print simple photos of the toy category for each bin
- Laminate labels so they survive spills and sticky hands
- Update labels as your child’s toy collection changes
4. Try the Toy Rotation System
Toy rotation works well when you have more toys than space. Store half of them away and swap every few weeks.
It makes old toys feel new again, which usually means less begging for new ones.
- Store the “off-duty” toys in labeled bins in a closet or garage
- Rotate on a schedule that fits your family, like monthly or seasonally
- Let kids help choose which toys come out next
5. Set Up a Low, Open Shelving Unit
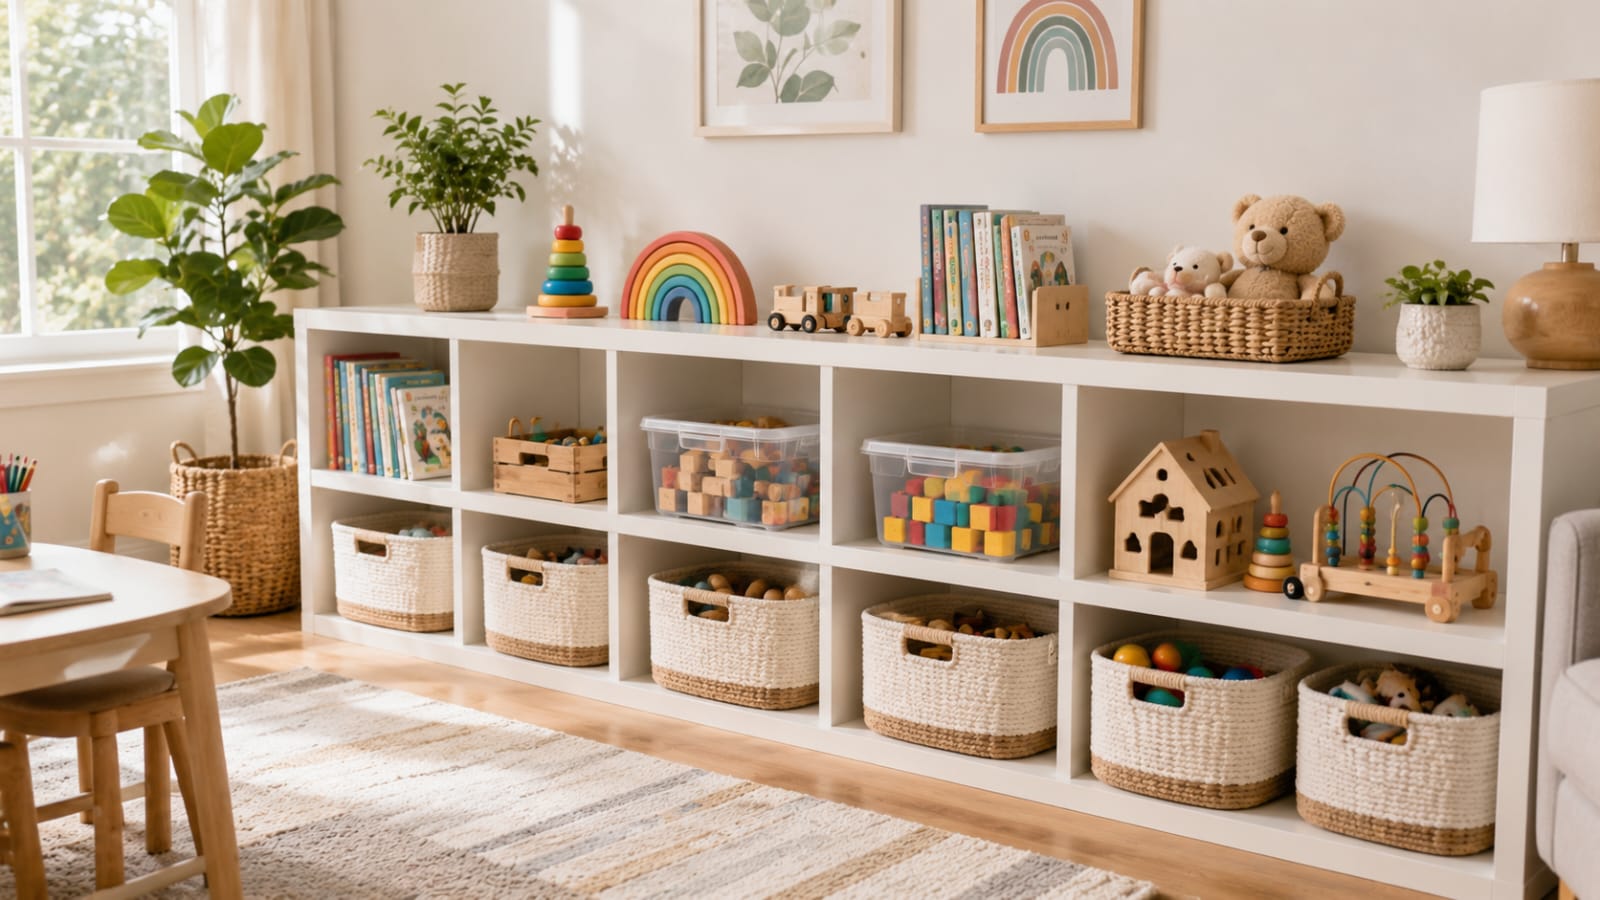
Open shelving at kid height removes the barrier of doors and lids. Kids can see, reach, and return toys without help.
Look for shelving units around 2 to 3 feet tall for toddlers and preschoolers.
- Place heavier toys and books on lower shelves for stability
- Reserve the top shelf for toys with small parts, out of toddler reach
- Anchor shelving units to the wall for safety
6. Use a Storage Ottoman for Dual Duty
A storage ottoman works double duty as seating and a toy bin, ideal for living rooms and shared spaces.
Choose one with a flip-top lid. Fill it with soft toys, blankets, or oversized items.
- Great for hiding toys quickly before guests arrive
- Pick a neutral color so it blends into your existing decor
- Avoid heavy lids for households with very young toddlers
7. Repurpose a Bookshelf for Bins
You don’t need specialty playroom furniture. A standard bookshelf holds bins just as well as purpose-built cubbies.
- Measure shelf openings before buying bins to ensure a snug fit
- Use fabric bins for a softer look in shared living spaces
- Add non-slip pads under bins to prevent scratching wood shelves
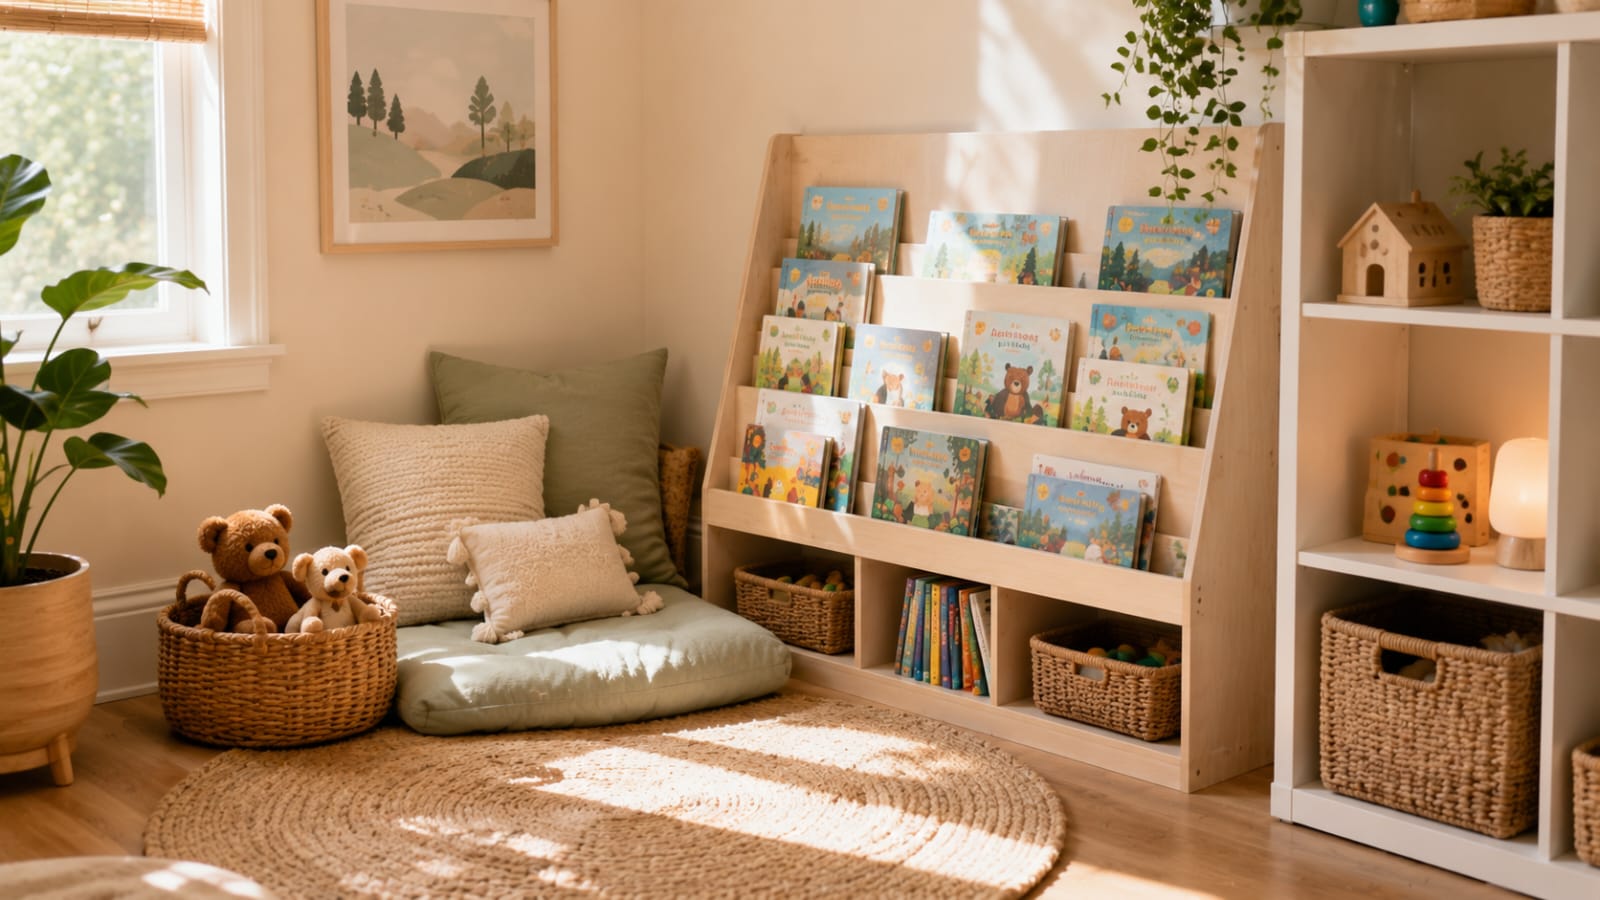
8. Create a Reading Nook Separate From the Toy Zone
Separating books from toys helps kids associate different corners of a room with different activities. A cushion, soft lighting, and a book bin keep quiet time distinct from active play.
- Use a low bookshelf with forward-facing covers so kids pick books independently
- Add a soft rug to visually define the space
- Keep this area toy-free to protect its calming purpose
9. Use an Over-the-Door Organizer for Small Toys
Over-the-door shoe organizers are a low-cost option for small items like cars, action figures, and craft supplies. Each pocket becomes its own mini storage bin.
- Choose clear-pocket organizers for easy visibility
- Group similar toys in the same row of pockets
- Hang on closet doors to keep bedrooms looking tidy
10. Hang a Pegboard for Dress-Up Gear
A pegboard mounted on the wall is a flexible, expandable option for hats, capes, bags, and dress-up accessories. Unlike bins, pegboards let items hang in full view, which doubles as room decor.
- Use S-hooks for items with straps or handles
- Add small baskets to the pegboard for smaller accessories
- Keep it at a height your child can reach independently
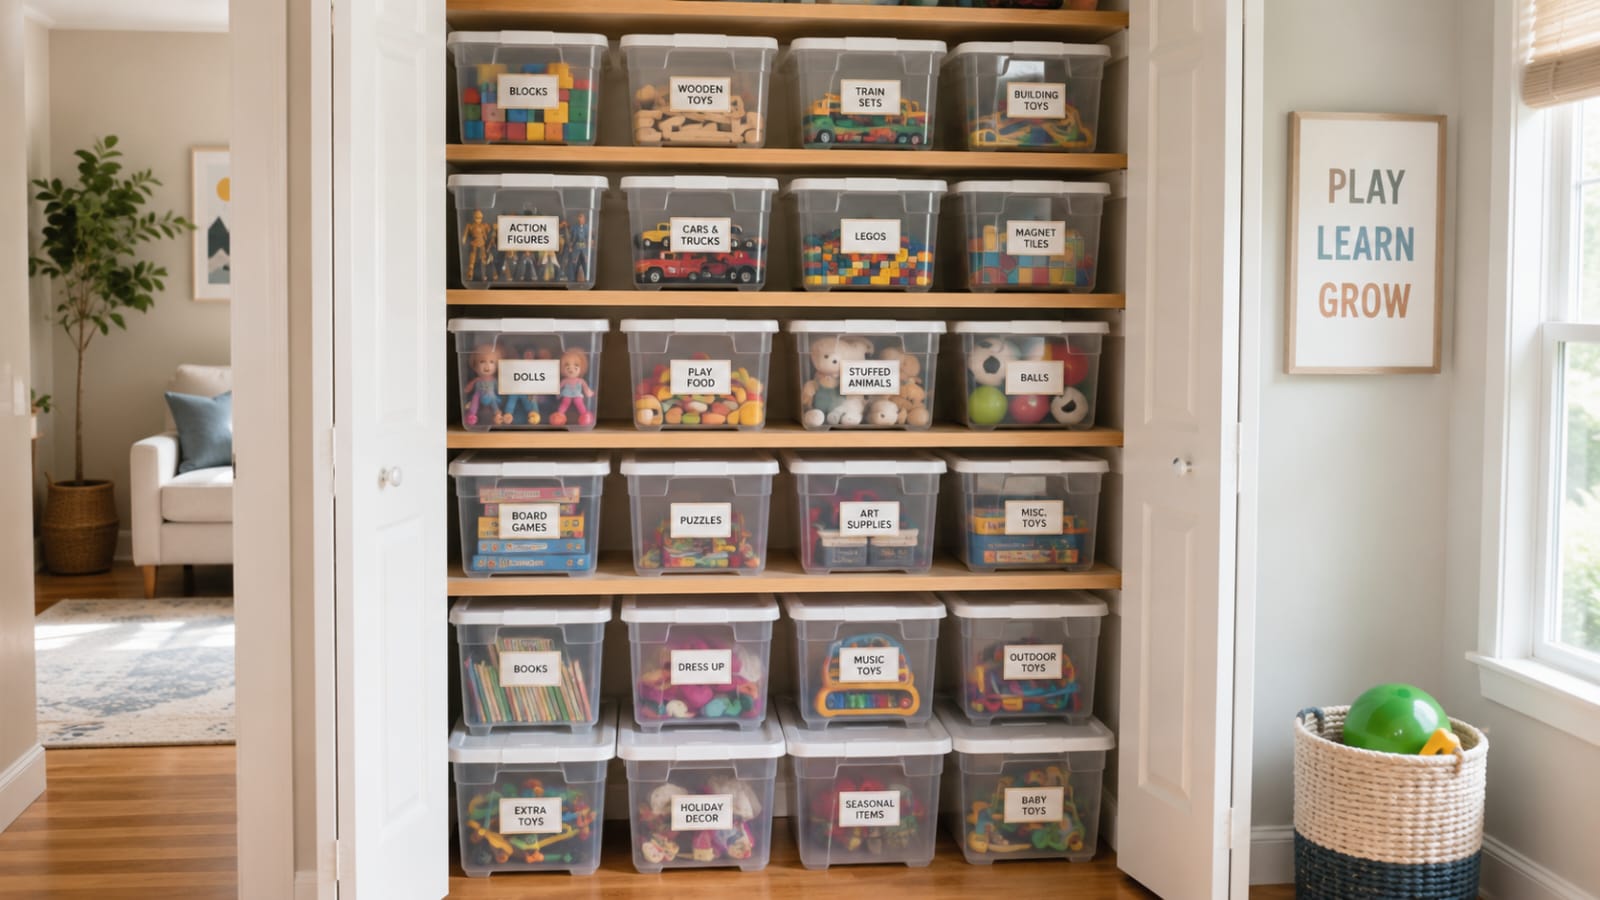
11. Stack Bins to Maximize Vertical Space
When floor space is limited, going vertical helps a lot. Stackable bins with secure lids let you store more without spreading toys across the room.
- Choose bins designed to interlock or stack securely
- Keep frequently used toys on lower stacks, less-used ones higher up
- Use a small step stool so older kids can access higher bins safely
12. Add a Rolling Cart for Art Supplies
A rolling cart with multiple tiers keeps markers, paper, paint, and glue contained and mobile. You can wheel it to the kitchen table for craft time, then roll it back into a closet when you’re done.
- Use small bins or drawers within the cart to separate supply types
- Store messy supplies like paint on the bottom tier, away from little hands
- Wipe down the cart regularly since art supplies tend to get sticky
13. Use Baskets for Stuffed Animals
Stuffed animals pile up fast, and folding or stacking them neatly rarely lasts. A large, soft basket lets kids toss plush toys in without needing precision.
Woven or fabric baskets are more forgiving than rigid bins, and they add texture to a room’s decor.
- Choose an oversized basket so it doesn’t overflow within a week
- Add a “favorites only” rule to prevent basket overload
- Rotate excess stuffed animals into the toy rotation system
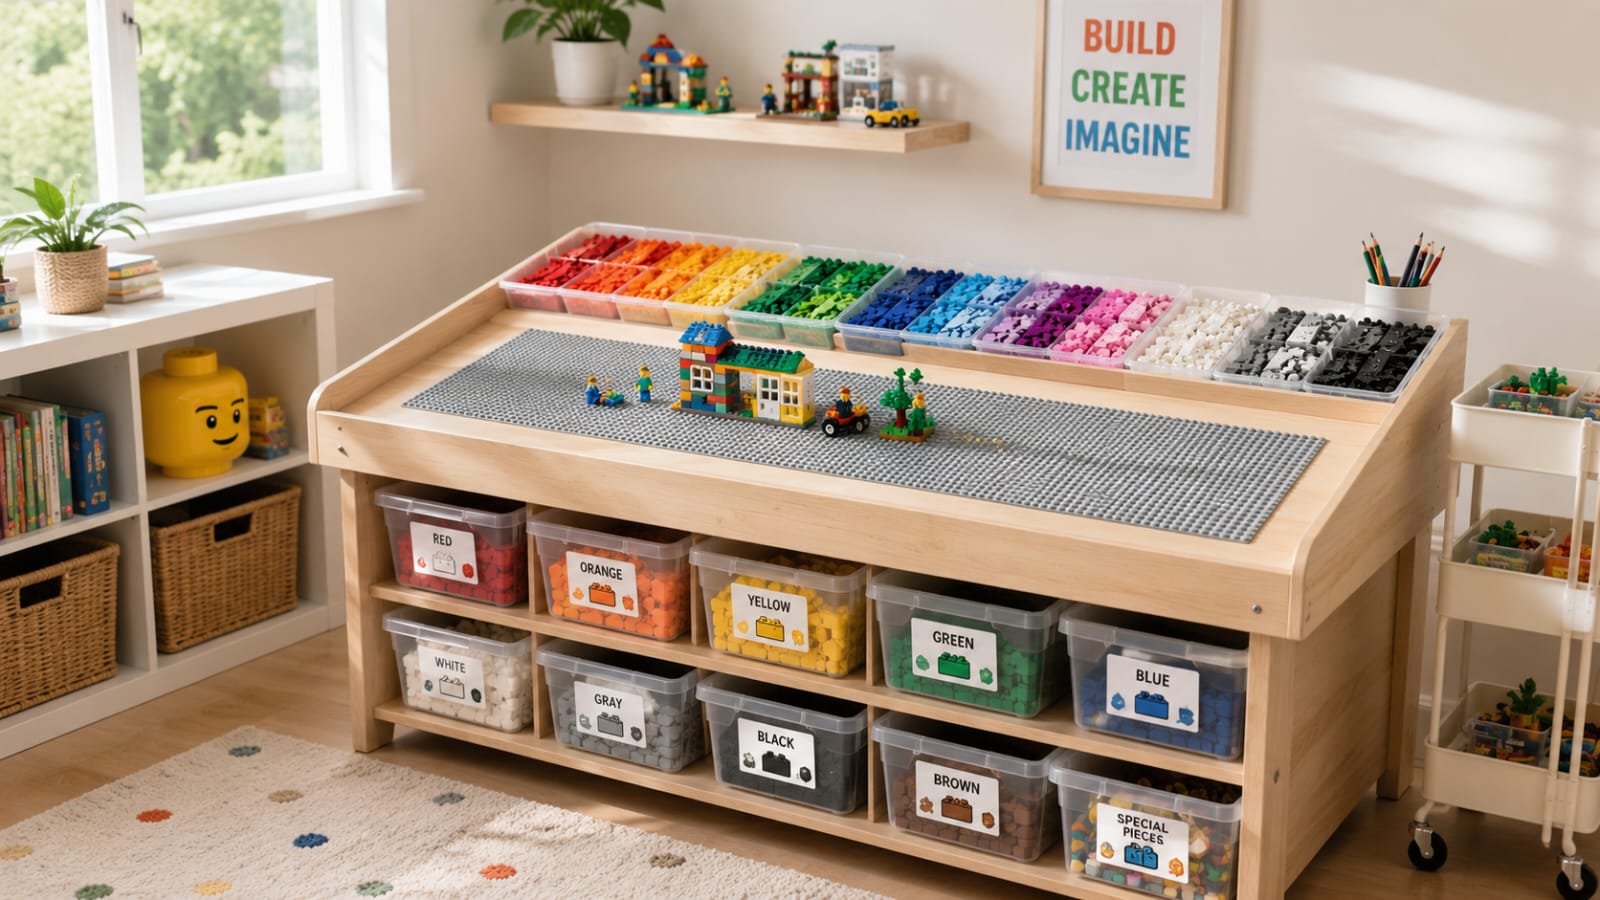
14. Build a Dedicated LEGO Station
Building bricks deserve their own system, since loose pieces are notorious for ending up underfoot. A dedicated LEGO station with sorting trays by color or piece type makes both building and cleanup easier.
- Use a large under-bed bin as the base storage for LEGO
- Add a flat sorting tray or building plate for active projects
- Sort minifigures and small accessories into a separate small-parts bin
15. Choose Furniture With Hidden Storage
Furniture that doubles as storage, beds with drawers, benches with lift tops, or window seats, is especially valuable in small bedrooms. It hides toys without dedicating extra floor space to bins.
- Look for beds with built-in drawers underneath
- Use a storage bench at the foot of the bed for extra toys or bedding
- Choose furniture with smooth-closing hinges for safety
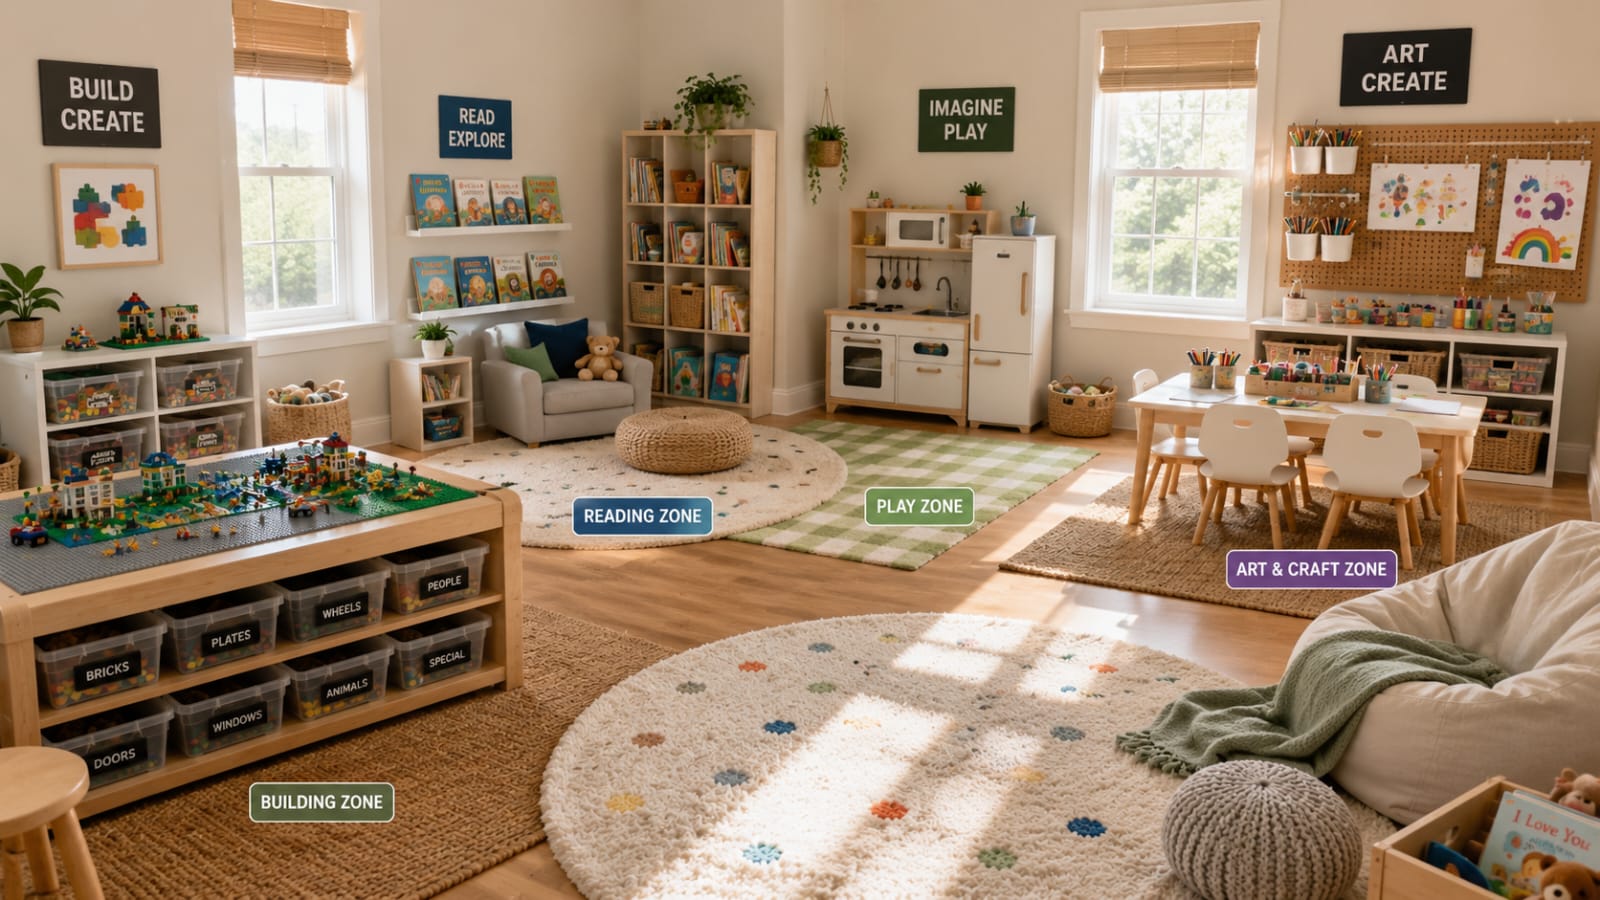
16. Create Activity Zones
Instead of one big toy pile, divide the room into zones: a building zone, a pretend-play zone, an art zone, and a reading zone. Each zone gets its own storage, rug, or defined space.
- Use rugs or tape lines to visually separate zones
- Keep each zone’s storage within that specific area
- Adjust zones as your child’s interests shift over time
17. Mount Wall Baskets to Save Floor Space
Wall-mounted wire or fabric baskets keep small toys off the floor entirely. They’re ideal for narrow bedrooms or playrooms where every square foot of floor space counts.
- Mount baskets at a height your child can reach
- Use uniform basket sizes for a clean, organized look
- Secure baskets into wall studs for safety and stability
18. Store Puzzle Pieces in Labeled Bags
Loose puzzle pieces are one of the fastest ways for a toy bin to become a junk drawer. Store each puzzle in its own zip-top bag, labeled with a photo of the finished puzzle, then group bags together in one bin.
This small step saves you from mixing pieces between puzzles and losing them entirely.
- Cut the box’s front image to tape inside the bag as a reference
- Use a mesh bag for puzzles with larger, chunkier pieces
- Store all puzzle bags together in one clearly labeled bin
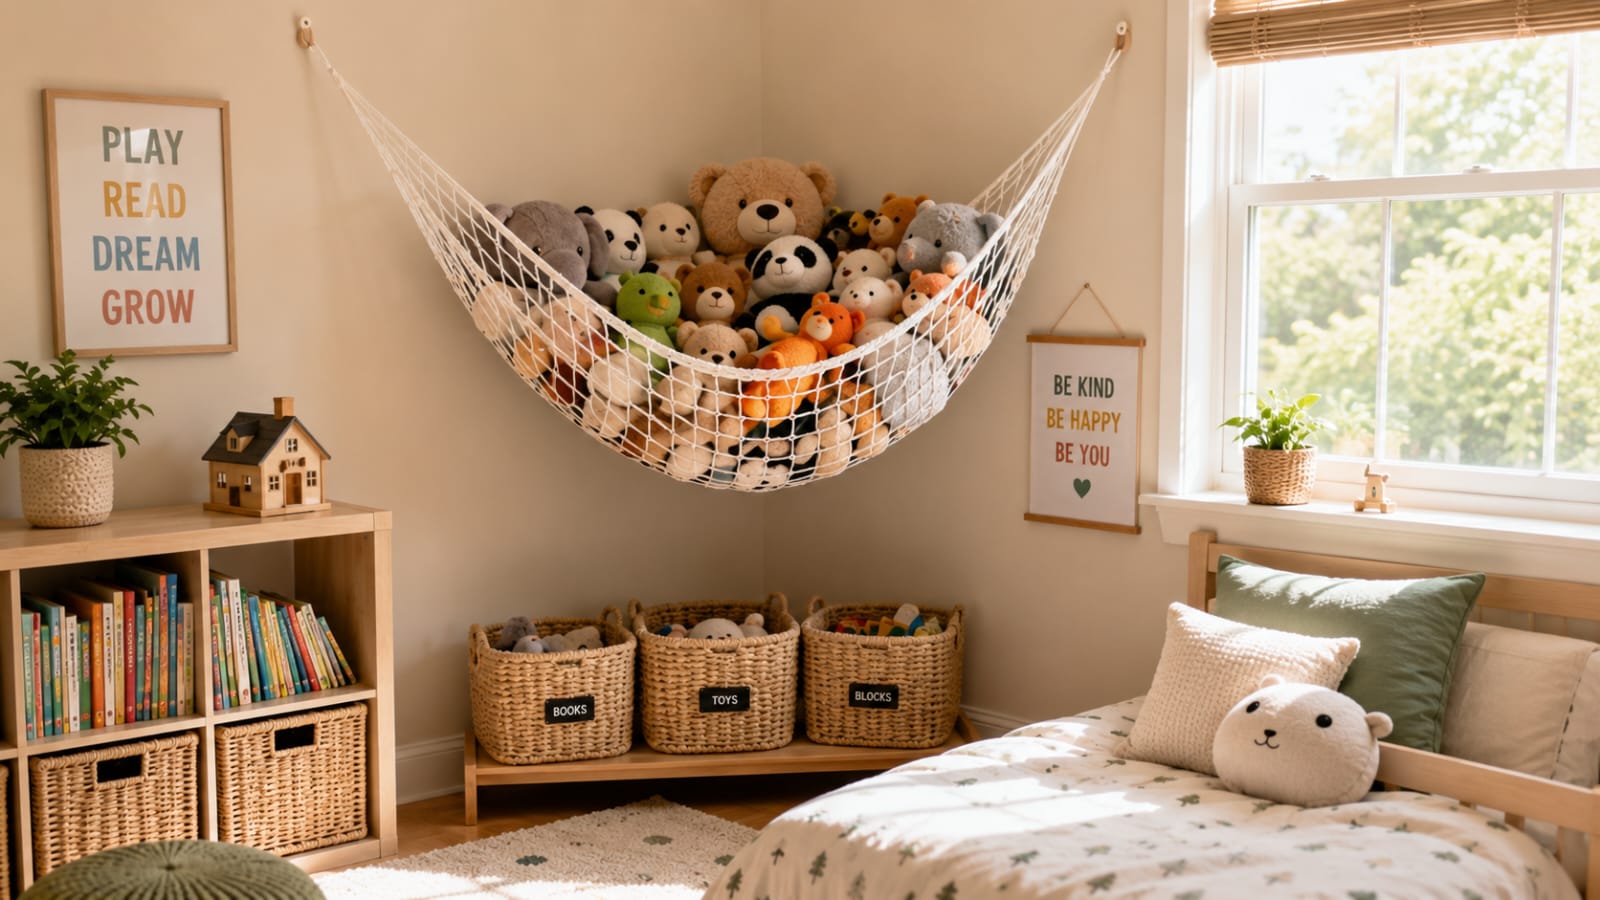
19. Use a Hanging Net for Plush Toys
A corner-mounted hanging net or hammock is a space-saving solution for stuffed animals that also adds a playful visual element to a bedroom. It keeps plush toys off the bed and floor.
- Mount securely in a corner, away from bunk bed ladders
- Avoid overfilling, since nets can sag with too much weight
- Combine with a basket system for overflow plush toys
20. Repurpose a Kitchen Cart for Crafts
A small kitchen cart with drawers and shelves works surprisingly well as a mobile craft or toy station. It’s an affordable alternative to built-in cabinetry.
Look for secondhand carts at thrift stores or online marketplaces to keep costs low.
- Use the drawers for small supplies like scissors and stickers
- Reserve the bottom shelf for larger bins or portfolios
- Add a lockable wheel to keep it stationary near the play area
21. Add Drawer Dividers for Small Toys
Small toys like cars, figurines, and building blocks get lost easily in a deep drawer. Dividers create separate compartments, so each toy type has its own defined space.
- Use adjustable dividers so compartments can change size over time
- Group by toy type rather than by set or theme
- Label each compartment for easier cleanup
22. Set a “One In, One Out” Rule
For every new toy that enters the house, one old toy leaves, donated, passed down, or recycled. This habit keeps toy volume manageable long-term, without a major decluttering session every few months.
It teaches kids to be intentional about what they keep, without turning every new toy into a fight.
- Apply the rule especially around birthdays and holidays
- Let kids choose which toy to let go of, when possible
- Keep a donation bin nearby to make the process easy
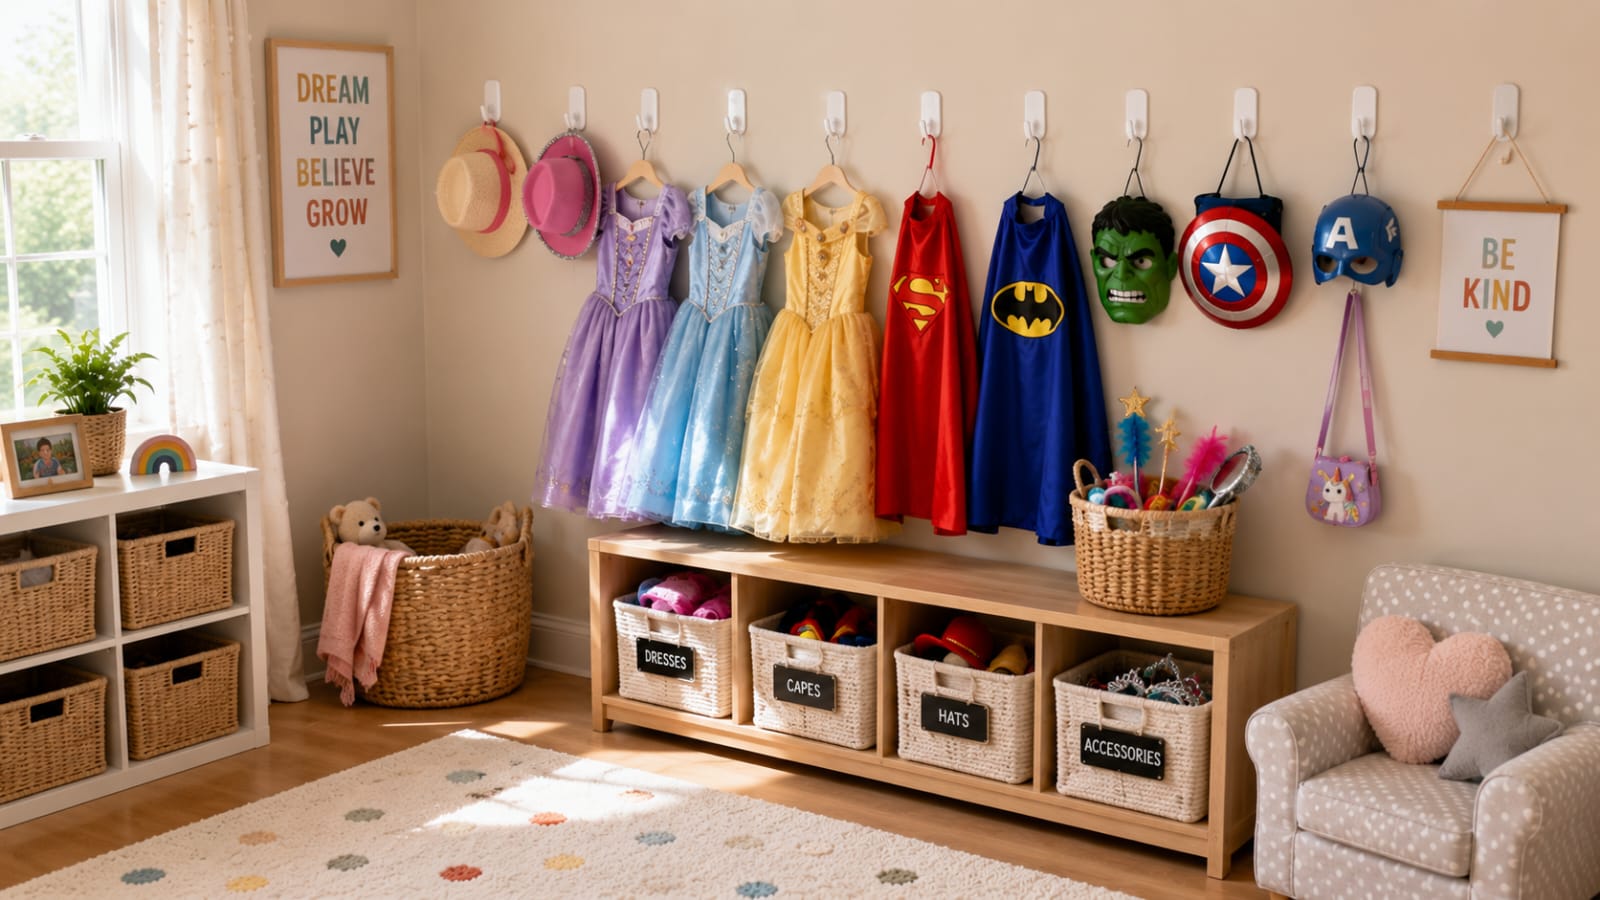
23. Use Command Hooks for Costumes
Dress-up costumes wrinkle and tangle when stuffed into bins. Command hooks mounted at kid height let capes, tutus, and costumes hang freely, ready to grab for imaginative play.
- Group hooks by costume type or character
- Add a small mirror nearby for dress-up fun
- Use sturdy hooks rated for the weight of heavier costumes
24. Store Outdoor Toys in a Deck Box
Balls, chalk, bubbles, and water toys don’t belong in the same system as indoor toys. A weatherproof deck box keeps outdoor gear contained and protected from rain, without tracking sand and dirt indoors.
- Choose a box with drainage to prevent mold or mildew
- Store seasonal items like sleds separately when not in use
- Position the box near the door kids use to go outside
25. Choose a Train or Activity Table With Storage
Activity tables built with under-table bins or drawers combine play space and storage in one piece of furniture. This works well for train sets, cars, or small figures that need a flat surface for play.
- Look for tables with removable bins for easy cleanup
- Choose a table height that grows with your child
- Add a fitted cover if the table will also be used for other activities
26. Sort by Color for Toddlers
For toddlers who aren’t yet reading, sorting toys by color is often more intuitive than sorting by category. Color-coded bins make cleanup feel like a simple matching game.
This approach works particularly well for open-ended toys like blocks, cars, or art supplies.
- Use colored bin lids or colored tape as visual cues
- Pair with picture labels for a smoother transition to category sorting later
- Keep the system simple, four to six colors is usually enough
27. Use Vacuum-Seal Bags for Overflow Plush
When stuffed animal collections outgrow available space, vacuum-seal bags are a practical way to store the overflow without taking up much room. This works well for sentimental toys your child isn’t ready to donate but doesn’t play with daily.
Store sealed bags in a closet, under a bed, or in an attic space.
- Only use this for toys not in daily rotation
- Check bags periodically to ensure the seal is holding
- Label bags by content and date for easy reference later
28. Create a Donation Station
Keep a designated bin or bag in a closet specifically for toys ready to leave the house. Instead of decluttering in one overwhelming session, this lets donations happen gradually, whenever a toy is outgrown.
Combine this with the “one in, one out” rule for the best results.
- Set a reminder to drop off the donation bin monthly
- Let kids place toys in themselves as part of the process
- Keep the bin somewhere visible enough not to be forgotten
29. Use Photo Labels Kids Can “Read”
For children who aren’t reading yet, photo labels taped or printed onto each bin let them “read” the system independently. Take a quick photo of each bin’s contents and attach it directly to the front.
- Update photos as bin contents change
- Laminate for durability against spills and handling
- Combine photos with simple text as your child begins to read
Common Mistakes to Avoid
Even with the best toy organization ideas, a few common missteps can undo your progress:
- Buying storage before decluttering. Sorting first prevents you from organizing toys your child no longer plays with.
- Choosing bins that are too big. Oversized bins encourage dumping instead of sorted storage.
- Skipping labels. Without labels, even a good system falls apart within days.
- Storing everything at once. Too many accessible toys overwhelm kids and make cleanup harder.
- Ignoring maintenance. A system needs a quick weekly reset, or clutter creeps back in.
- Making the system too complex. If a four-year-old can’t maintain it alone, it needs simplifying.
A quick safety note: Whatever system you choose, keep small parts and choking hazards out of reach of children under 3. The Consumer Product Safety Commission recalls unsafe toys regularly, so it’s worth checking your bins against recent recall lists, especially for hand-me-downs and secondhand finds. The American Academy of Pediatrics also recommends sorting toys by age range, not just by type, when kids of different ages share a play space.
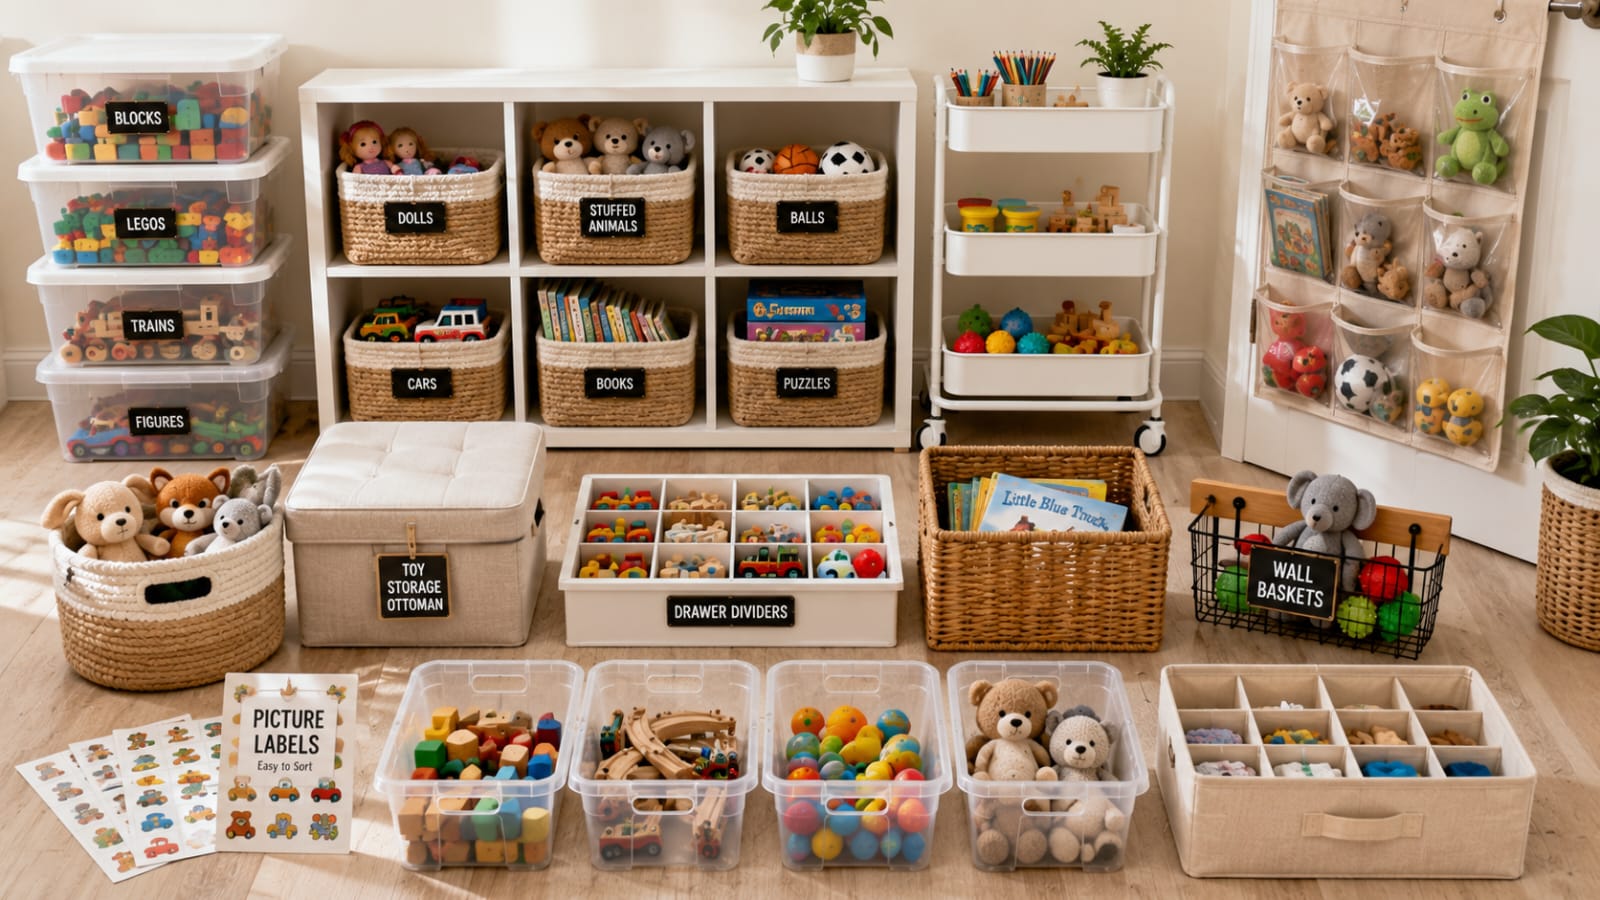
Best Amazon Products for Toy Organization
If you’re shopping for supplies, here are the categories worth searching for on Amazon or your favorite retailer:
- Clear stackable storage bins with lids, ideal for category sorting and shelving
- Low open-shelf units designed for kids, ideal for kid-height accessibility
- Storage ottomans with flip-top lids, great dual-purpose seating and storage
- Over-the-door pocket organizers, perfect for small toys and craft supplies
- Wall-mounted wire baskets, useful for vertical, space-saving storage
- Drawer divider sets, helpful for sorting small toys inside dressers
- Laminated picture label kits or blank label sheets, essential for toddler-friendly systems
- Rolling utility carts, practical for mobile art and craft stations
Look for products with strong reviews specifically mentioning durability, since toy storage takes daily wear and tear from active kids.
Frequently Asked Questions
What is the best way to organize toys in a small space? Focus on vertical storage, wall-mounted baskets, stackable bins, and furniture with built-in storage. Combine this with toy rotation so only a portion of your child’s toys are out at any time.
How often should I rotate toys? Most families find monthly or seasonal rotation works well. Adjust based on your child’s attention span and how often they seem bored with current toys.
What age is best to start toy organization systems? You can start as early as toddlerhood using picture labels and open bins. Kids as young as two can learn to put toys away independently with a simple, visual system.
Should toys be stored by category or by type? Category-based sorting (building toys, pretend play, art supplies) tends to work better than sorting by brand or toy line, since it’s more intuitive for kids to understand and maintain.
How do I get kids to actually put toys away? Make the system as visual and low-effort as possible. Clear bins, picture labels, and low shelving remove barriers so kids can succeed without adult help every time.
What’s the biggest mistake parents make with toy storage? Buying storage solutions before decluttering. Sorting and removing outgrown or unused toys first makes any system, bins, shelves, or carts, far more effective.
Conclusion
You don’t have to fix everything today. Toy organization isn’t a weekend project you finish once, it’s a system you build one bin, one shelf, one habit at a time.
Pick the idea that feels easiest to start with, whether that’s sorting your first category or hanging a single pegboard hook. Small wins add up, and every bin you set up now is one less pile to deal with later.
Start with one toy bin today, sort it, label it, and put these toy organization ideas into action. Small changes today can make your playroom easier to manage every day.
Related Reads
- Kids Room Organization Ideas
- Small Closet Organization Ideas
- Linen Closet Organization Ideas
- Entryway Organization Ideas
- Under Sink Storage Ideas
- Mudroom Organization Ideas

Hi, I’m Shankar, the founder of Nestory Home. I share practical home organization, storage, and home decor ideas to help you create a clean, functional, and beautiful home. Every guide is designed to be simple, budget-friendly, and easy to put into practice.